Survival Kit
SLP Survival Kit – Assembly Instructions and Materials
Create Your SLP Survival Kit
Have you ever walked into a session and thought “Oh crap, I totally forgot to plan for this one!”? Or have you started an activity that you thought was going to go great and it totally bombs?
I’ve had far more of those sessions than I care to admit. But I have a secret weapon for those “Oh crap” moments.
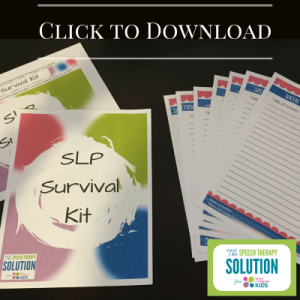
THE SLP SURVIVAL KIT!
The SLP Survival Kit contains a backup supply of therapy materials for a variety of topics so that you are ALWAYS prepared, even when everything goes terribly awry and you have 20 minutes left in your session with 4 screaming preschoolers and your administrator is sitting in the corner judging you because OF COURSE today was the day he decided to do his surprise observation. (Isn’t that always the way it goes??)
Plus, this won’t take up very much of your already-scarce planning time. Just a few minutes today and then you can add to it a little at a time each week. A couple of minutes each week is going to save you time and stress when it comes to planning your sessions.
Let’s Get Started!
Step One: Gather Your Materials
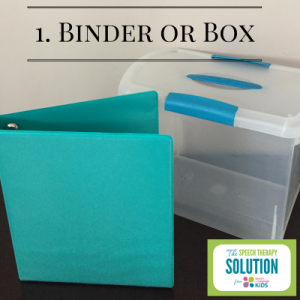
- Find a 3-Ring Binder (as big or small as you want!) or a Small File Box. You can use whichever is more convenient for you. I like the binder because it travels better, but if you’re in one place, the box may be more appealing!
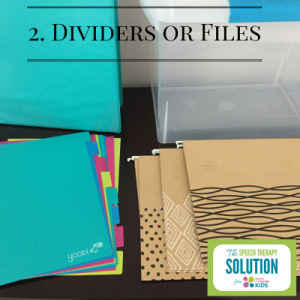
- If you got a binder, find 10 divider tabs. If you got a file box, find 10 hanging folders.
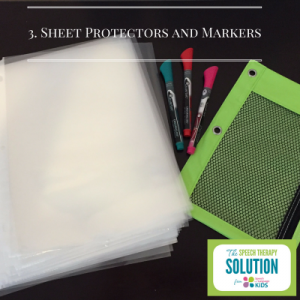
- Get a big pack of plastic sheet protectors, some dry erase markers, and maybe a pouch to keep them in
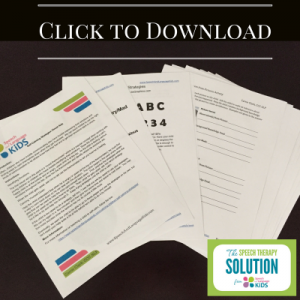
- Print off this pack of Printables:
- Print off the first week’s worth of worksheets to go into the Kit. Feel free to skip any of the categories that you don’t need (like if you’re not working with any fluency clients right now).
Step Two: Assemble the Kit
Follow along as I make the kit on this video. Or, read the instructions and assemble at your own pace.
- Place the SLP Survival Kit Cover page on the outside of the box or binder. If doing a binder, place the spine label on the outside of the binder.
- Insert the 10 divider tabs into the binder or 10 hanging files into the box.
- Add one table of contents page to each folder to divider. If you don’t do therapy for one particular category, you can omit that section.
- Label the dividers or folder tabs for each of the 10 categories (use the titles from the table of contents pages).
- Add several plastic sheet protectors to each section.
- Place the first week’s activities in the sheet protectors for the appropriate category. Write the name of the page on the table of contents for that section and number the pages for easy reference.
- Add the markers to the kit.
- Enjoy stress-free sessions when you know you have your Survival Kit nearby in case of speech-related emergencies!
Which Activities Go in Which Sections?
- Speech Sounds: Structured Conversation Pack
- Language: Epic Mixed Questions Collection
- AAC: Basic 12-Picture AAC Board
- Apraxia: Tree-Picking Edible Game (CV, VC, CVC)
- Autism: Encouraging Children to Talk During Play
- Fluency: Discovering Emotions Workbook
- Functional Communication: /m/ Articulation Book for Beginning Communicators
- Resonance/Voice: High, Low, or Normal
- Behavior: Self-Calming Strategies Visual Aids
- Social: Making Inferences from Pictures Activity
What’s Next?
That’s it! Your Survival Kit is ready to go! I’ve broken this out into weeks so you can add a little bit each week until it’s done. Come back to this page once per week to download the resources. Or, if you have some free time now, print them all out and get started! Here are the links to the worksheets for the upcoming weeks:
- Survival Kit Week 2 Activities
- Survival Kit Week 3 Activities
- Survival Kit Week 4 Activities
- Survival Kit Week 5 Activities – No worksheets this week! Time to Catch Up!
- Survival Kit Week 6 Activities
- Survival Kit Week 7 Activities
- Survival Kit Week 8 Activities