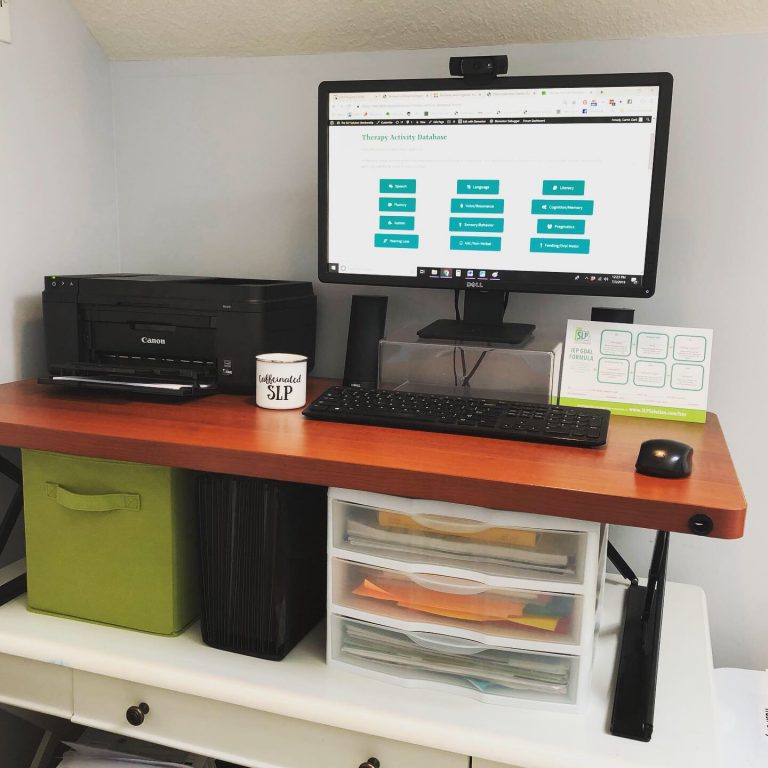
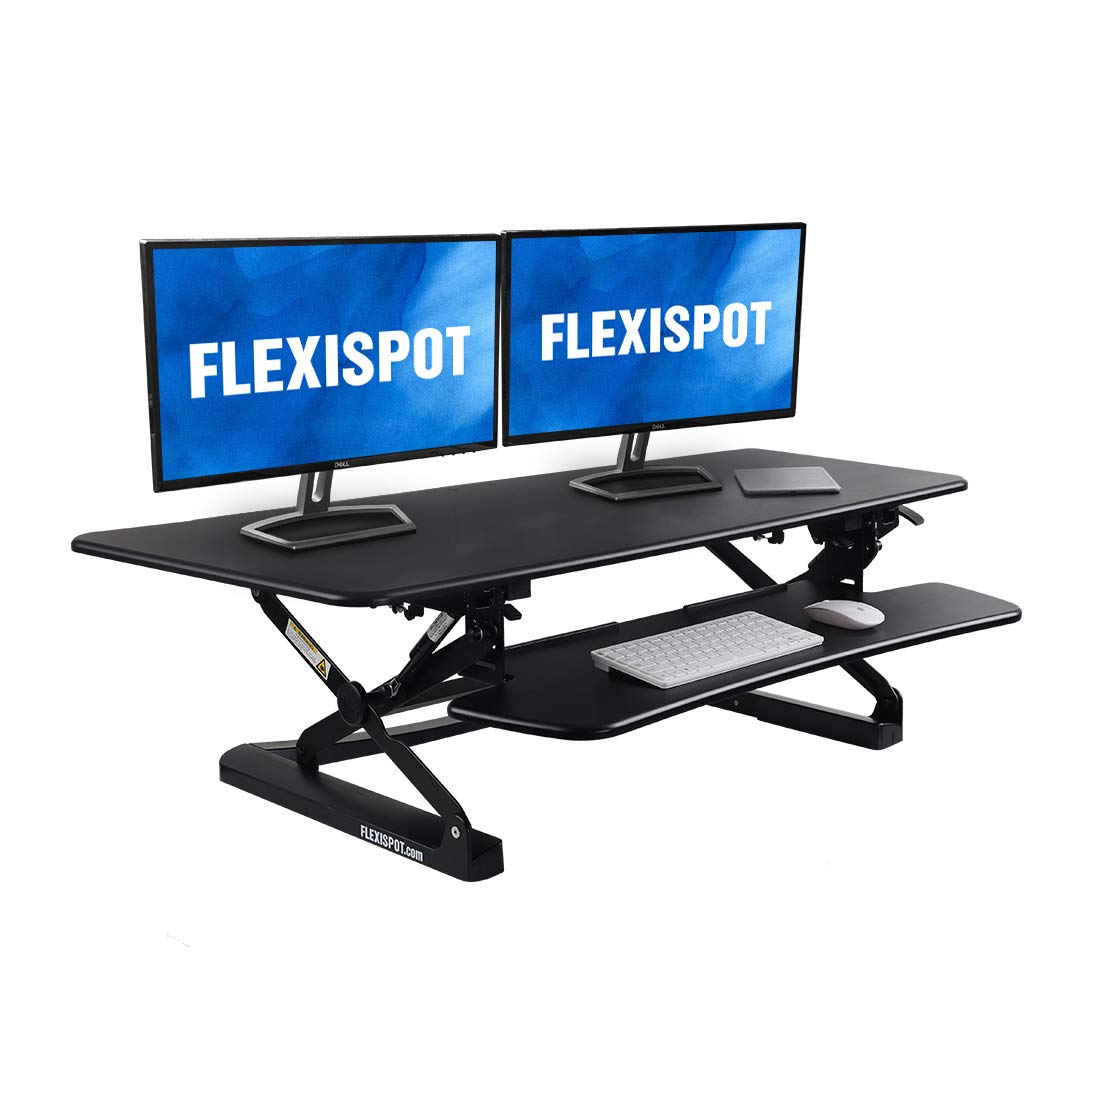
How to Organize Your Speech Therapy Room (Or Car...Or Closet)

Welcome to week 6 of our SLP Summer Organization Series!  In case you missed any of our previous posts, we’ve already discussed the following:

Now, it’s finally time to put it all together!  This week we’re discussing how to organize your entire therapy space!  Some of you may have beautiful classroom-sized spaces.  But I’m guessing most of you do not.  You may even be working out of your car or a small closet that your administration swears is actually an office.  Either way, we have you covered!

Mission 6: Organize Your Therapy Space

If You Have a Therapy Room/Office:

Lucky you!  You actually have a therapy space where you can work!  

(If you have a smaller space or if you’re a traveling therapist, keep scrolling till you see “If you have a smaller space”)

For you, we’re going to think about organizing your space into four zones.  By now, you should have already gone through all of your materials and consolidated down to ONLY what you need.  And, you should have tried to replace big, bulky items with smaller, travel-sized items.  If not, go back up to the top and click some of the links to get the rest of your stuff organized.

Step One: Sort Into Piles

The first thing you’ll do is take all of your therapy materials and sort them into four piles.  Each pile represents one of the zones below: 

  • Zone 1: Near therapy space
    Anything you regularly use in therapy (artic cards, folder games, flashcards, pen, data notebook, etc.)
  • Zone 2: Near work space
    Anything you regularly use in planning/paperwork (inbox, pens, quick reference materials, student files, etc.)
  • Zone 3: Storage within kids’ reach
    Things you don’t use every day but that you want  students to have access to (games, books, etc.)
  • Zone 4: Storage out of reach
    Your personal storage that you don’t want the kids to have access to (materials, files, references, etc.)

To help this make sense, take a look at how these four zones look when we put them into your therapy space:

These zones don’t have to be laid out in this order, but you should have all four of these spaces outlined in your room.  There should be the place you do therapy, the place you do paperwork, the place you store stuff that you’re ok with your students getting into, and an off-limits storage space.

Now, go ahead and sort everything in your space into one of these four piles.


Step Two: Organize Zone One (The Place You Do Therapy)

Zone One is everything that you need handy during your therapy sessions.  For most of us, that includes a table or a rug where we do our work, as well as, our core therapy activities.  If you joined us for week one of this series, you made your “Speech Box” kit where you stored your key therapy materials.  This is a great thing to add here.  You can also add your clipboards, pens, data notebook, and anything else you use very frequently.

Find a way to organize these items in your space.  You may need to purchase additional storage devices to hold items that you haven’t already stored in a container.  Here’s how my Zone One looks:

Step Three: Organize Zone Two (Your Desk)

Now move on to the pile you assigned to zone two.  This should be everything that you need right at your desk when you are working on planning, paperwork, and client files.  Make sure that everything is easy to find and close at hand.  A locking file cabinet is a must if you have HIPAA-Protected information on anything.  But other storage in this area is helpful, as well.  

I’m a big fan of the standing desk pictured below for a number of reasons: 

  1. It’s better on my back (which I have issues with).
  2. It keeps my computer out of the reach of tiny human hands.
  3. It adds additional space under my desktop for extra storage.

Here’s my Zone Two: 

My Favorite Zone 2 Stuff:

Here are some links to some of my favorite desk items.  The Amazon links are affiliate links so I will get a small commission if you purchase through me.  Thanks in advance if you do!  (I do not have an affiliate relationship with Peachie Speechie.  I just love them.  And sometimes she gives me free mugs because she loves me too 🙂  )

Large Standing Desk

Apparently they don't make my particular standing desk anymore so I got as close as I could come. This one has a large work surface like mine and space underneath for storage. The only thing different is the material (mine is wood) and the fact that the keyboard is lower so you'll have slightly less space for storage.

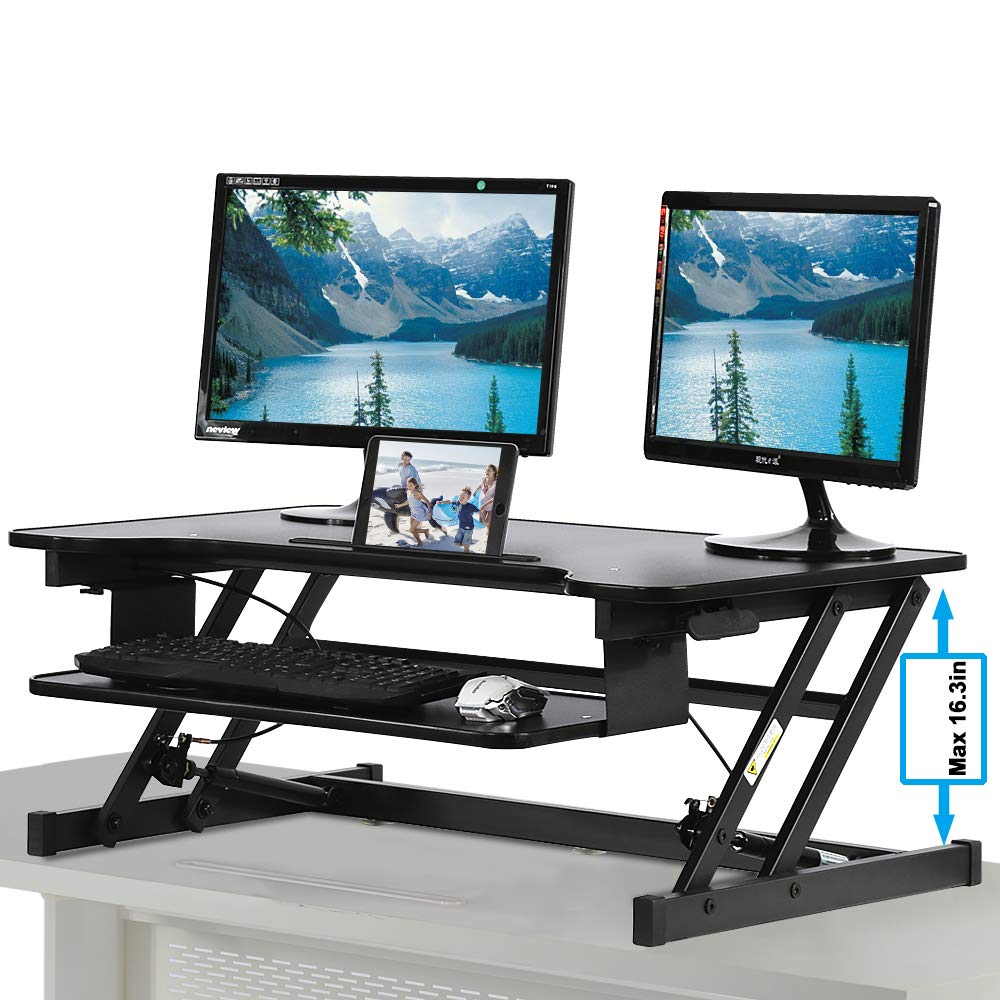
Smaller Standing Desk

This one is similar to the first one but it is slightly smaller and much less expensive (at least at the time that I'm writing this). I also like that it has a tablet slot so you can stand your tablet up as well.

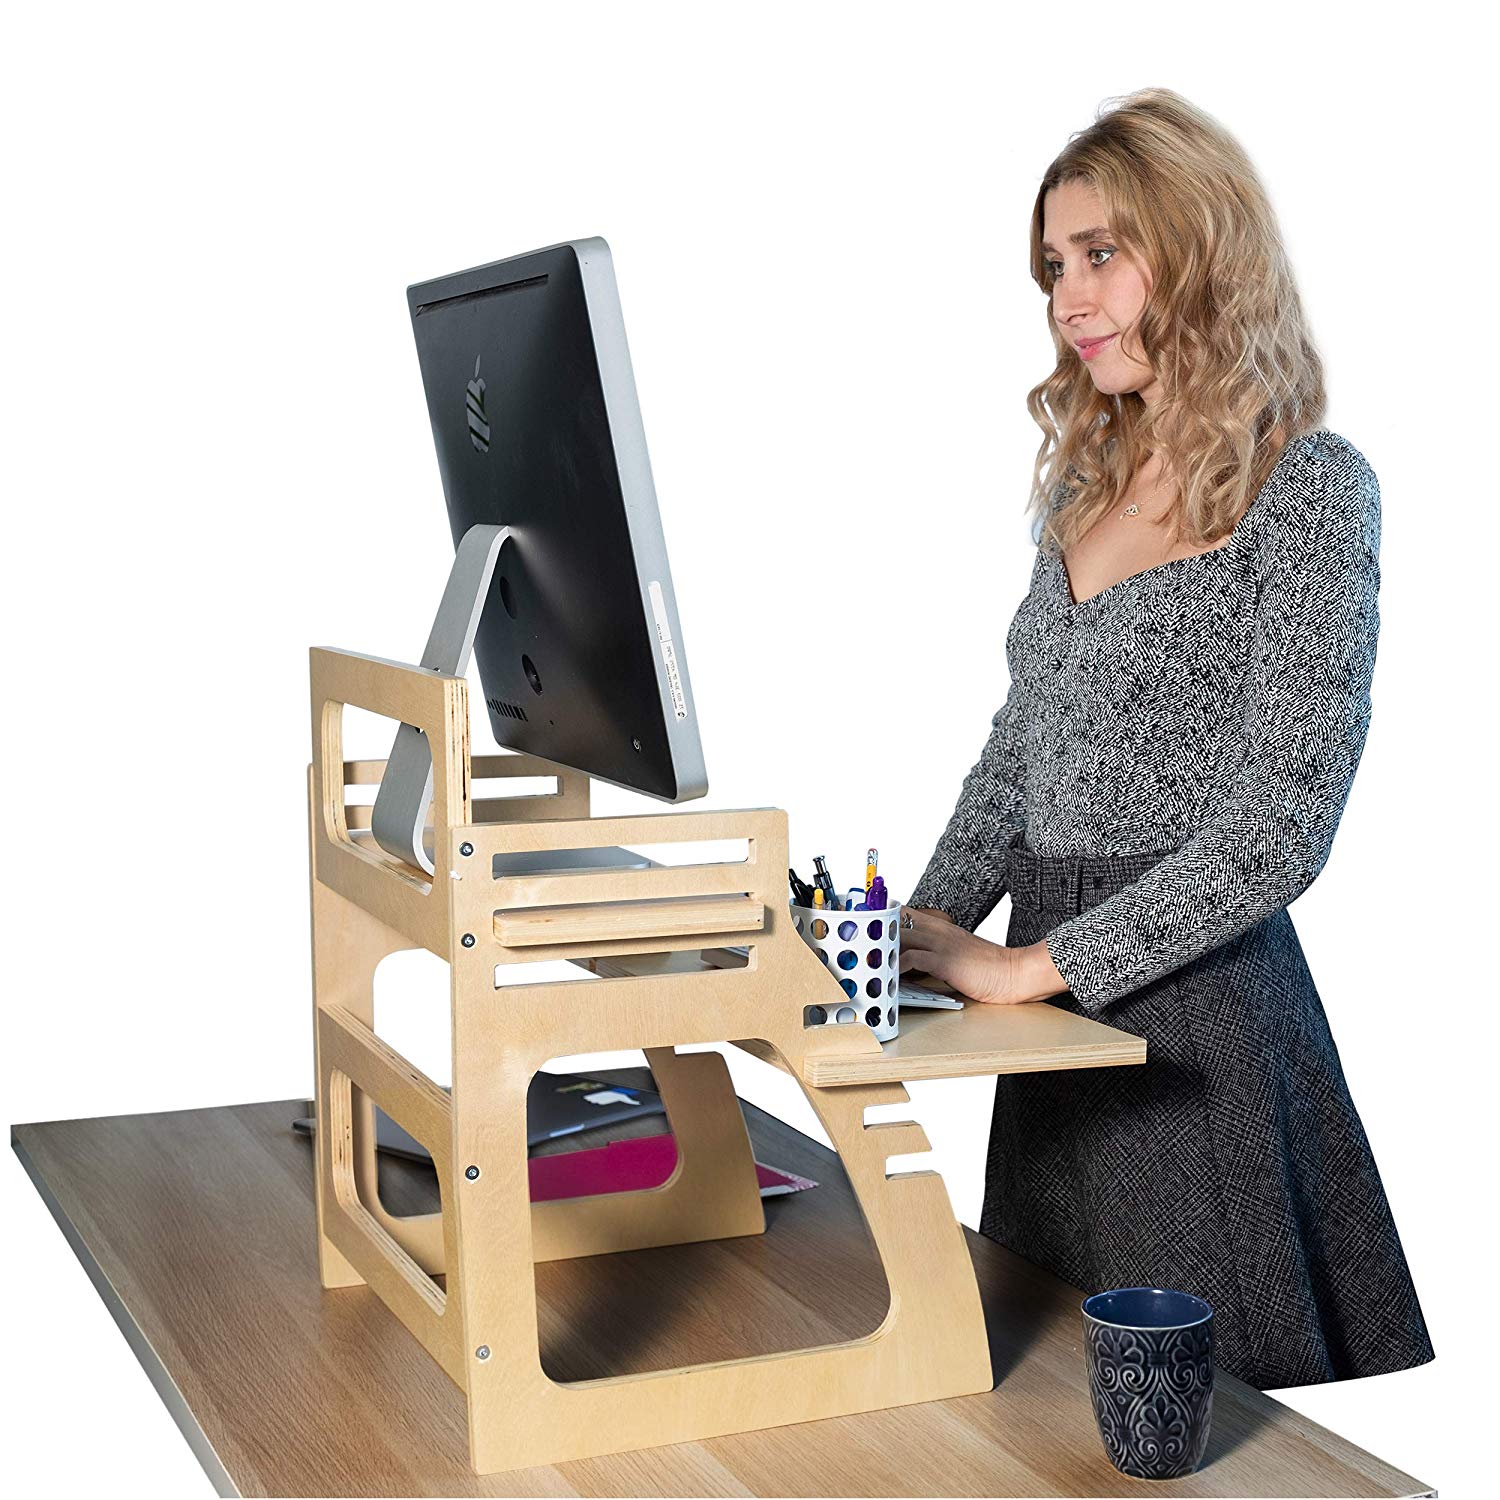
Smallest Standing Desk

If you're looking for a smaller (and cheaper) option that just holds your computer, this one is great, too! I've seen this style on Amazon at many different price points, so click the link below but then look at the "related items" section to see if there are any cheaper ones available when you're searching.

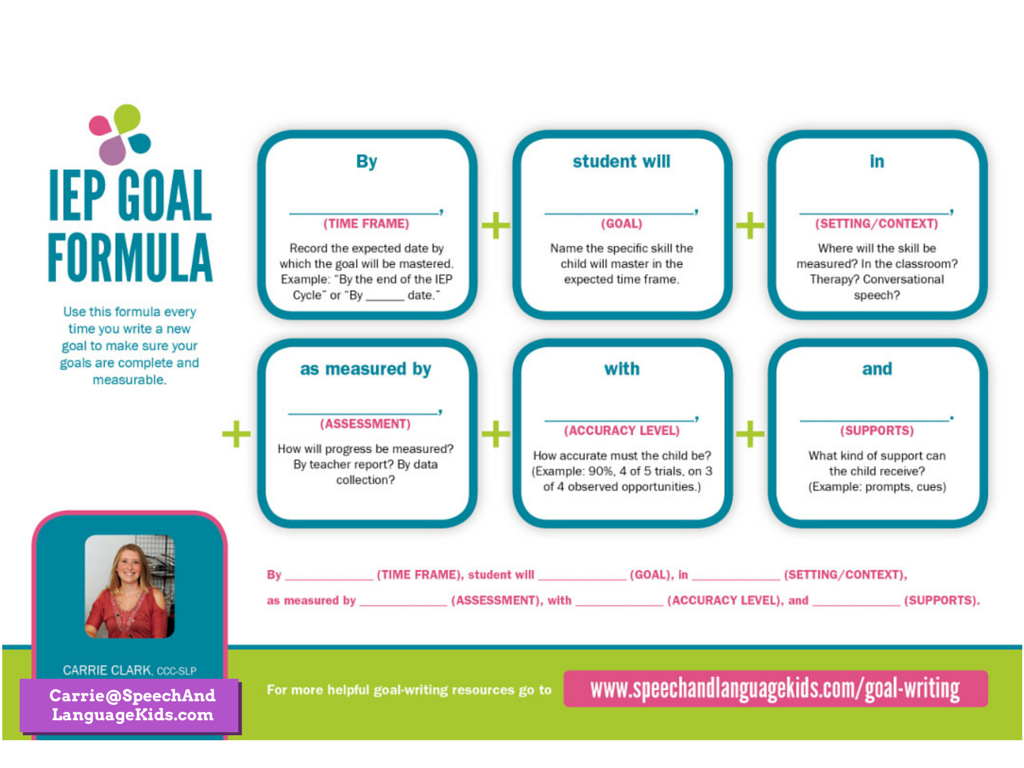
Our Goal Writing Formula

If you're wondering where that fun goal-writing formula came from, check it out here!
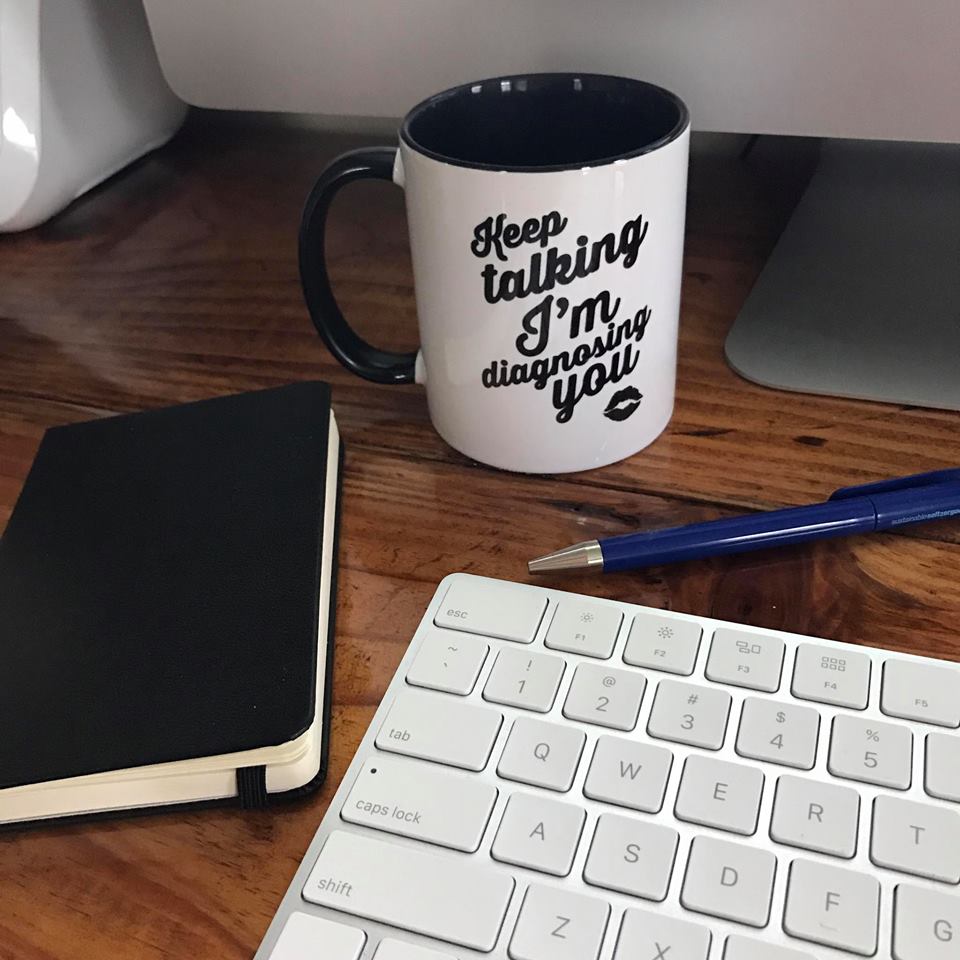
Sweet SLP Merch

If you need a super cool mug on your desk like the one I have on mine, you need Meredith in your life. She and her husband make the COOLEST SLP merch that I've ever seen! I'm addicted. Go find a fun mug or apparel on her website at Peachie Speechie!
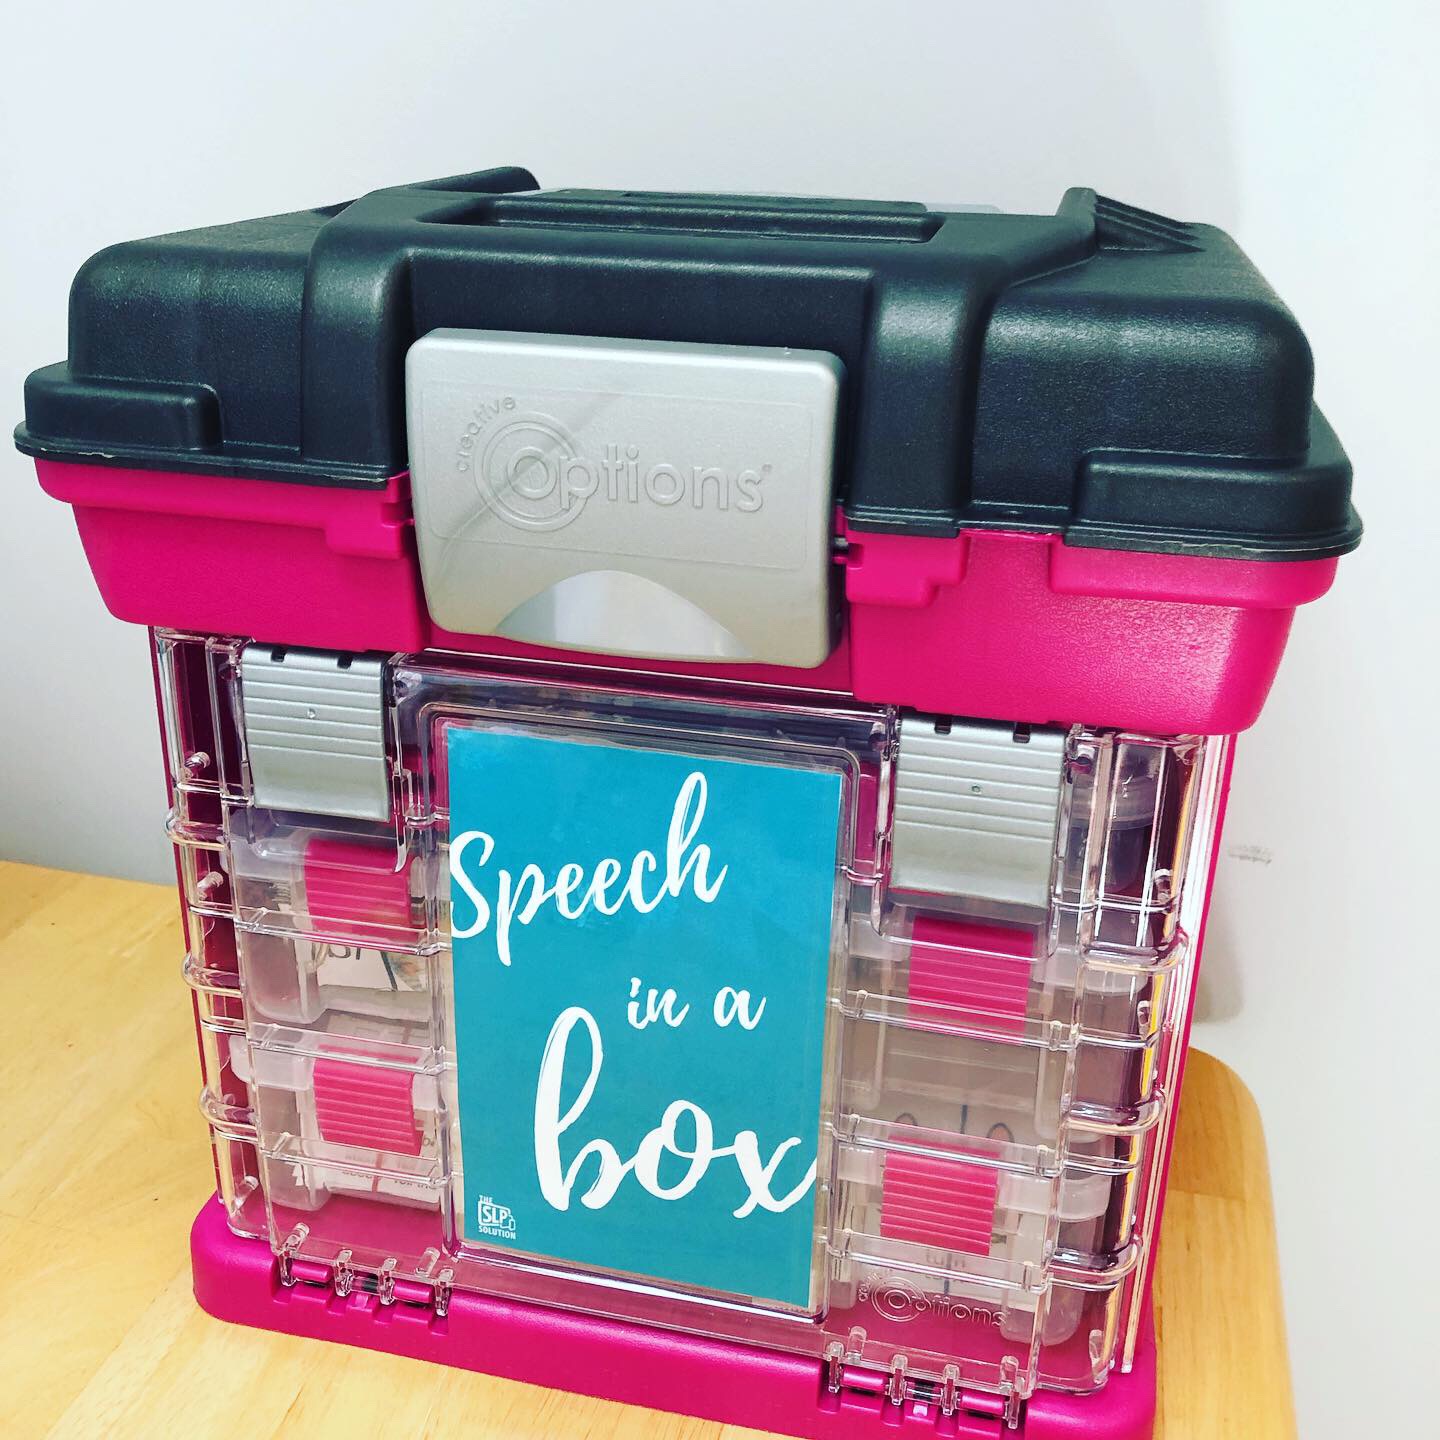
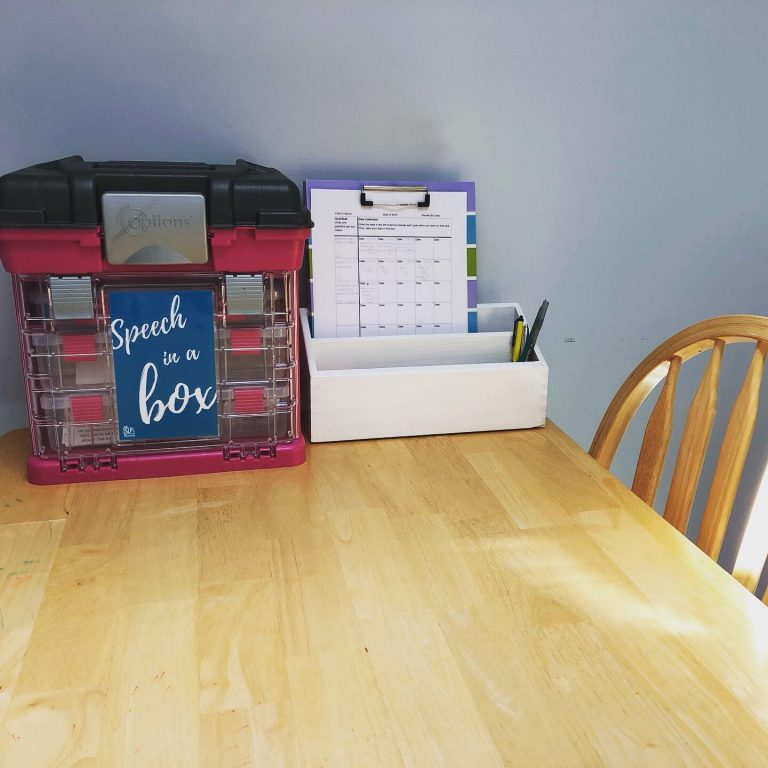
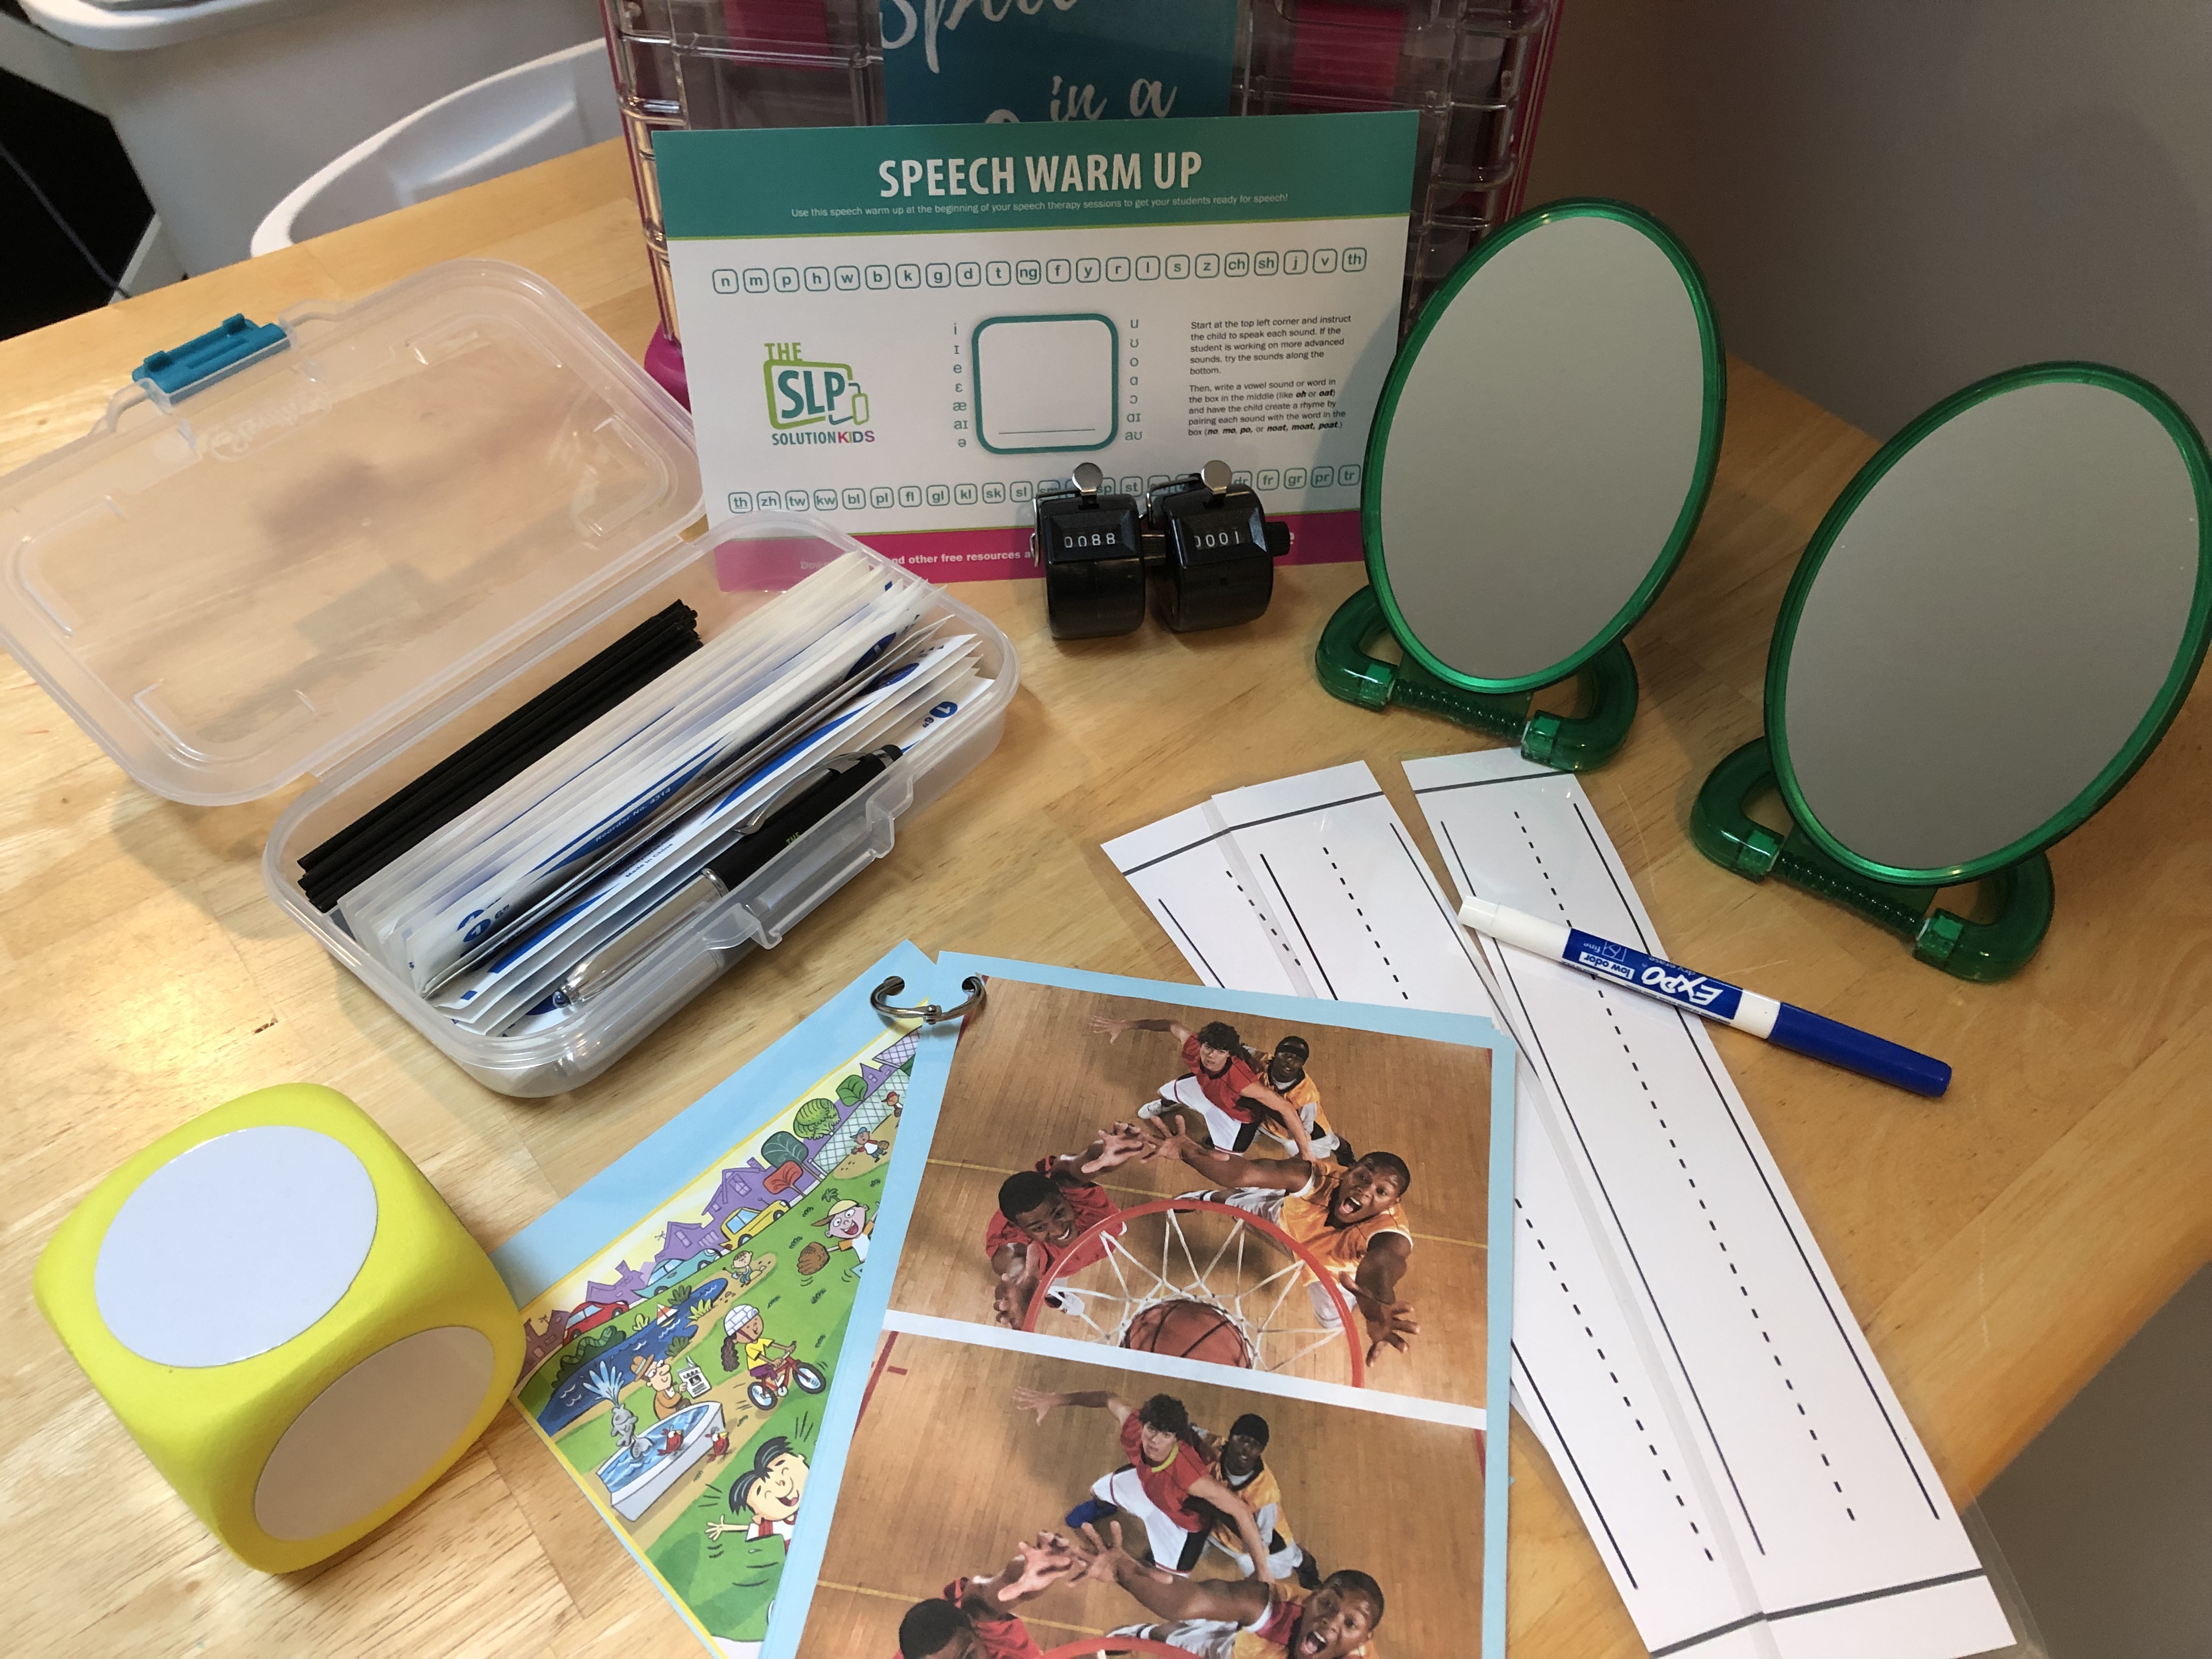
Step Four: Organize Zone Three (Storage the Kids Can Access)

The next area you’ll want to organize is the storage that you’re OK with your clients getting into.  This will be the toys, games, books, etc that you’ll use during your sessions.  My favorite way to start a session is to have my client(s) go over to this area and choose one thing to “play” while we’re working.  I’m pretty good at working any skill into any toy/game/reinforcer so that’s not a big deal to me.  

However, if you really want to guide your client toward a specific toy or activity, you may want to cover this shelf some of the time.  I’m a big fan of taking a large piece of fabric and velcroing it across the top of the shelving unit so that it drapes down across it.  This will keep things out of sight while you focus on the one activity you DO want them to engage in.

Here are two examples of what my Zone Three spaces look like:

In this space, I used cube shelves.  The bottom cubes were all books (because I love books for therapy) and the top cubes and shelves were filled with toys, games, and activity sets.  This shelving unit was a bit less organized than I prefer but I want you to see what real life looks like!

Here’s what I prefer now that I’ve discovered the joys of “rotating toys”.  This is a Montessori-inspired shelf where you only have one game/toy/activity per cube.  As you can tell, this is a much less cluttered option and it makes decision-making much quicker for the child.  The only downside of this is that you’ll need to rotate toys out every so often to make sure your clients don’t get bored.  I do this by having “out-of-rotation” activities in Ziploc bags that I throw in large storage bins.  But you need to have an area to keep those storage bins if that’s what you choose.  So, this won’t work for everyone, but it’s a nice option if you can swing it!  Also, this is a shelf for a younger clientele.  You could easily swap these out for older games and activities as well.


Step Five: Organize Zone Four (Out-Of-Sight Storage)

Now you need an area where you can store things that you DON’T want your clients to get into.  This can include your “out-of-rotation” toys and games, as well as, any materials that you only pull out for certain clients.  A closed closet is the best for this, but you can make due with a cabinet that has doors that close.  Or, in a pinch, just another shelf that you cover with a cloth or curtain. 

Here’s what my Zone Four looks like: 


If You Have a Smaller Space (Like a Closet or Car)

Now, let’s take a look at some ideas for if you don’t have a full office or room.  Maybe you share a therapy room with others and only have a small space to keep your materials.  Or maybe your administration stuck you in a closet and claims it’s an office.  Or maybe you’re like I was when I worked for the schools and you travel from school to school so your real therapy space is your car.  Either way, we can help with that too!
 
For traveling therapists and therapists without a full office/room, you’ll need the following three components: 
  1. Therapy Materials (Actual materials that are needed to teach or practice speech/language skills)
  2. Games and Reinforcers (Fun stuff that keep your clients motivated)
  3. Transport Bag (Whatever you’re going to use to haul it from the storage space to the therapy space)
Let’s break each of those components down:

Step One: Organize Your Therapy Materials
I’ve said it before and I’ll say it again.  You don’t need ten different games to work on the same skill!  You just need one “therapy material” that can be used to work on each skill (or multiple skills) and then ten different games and toys to reinforce the child while you’re working.  So if you need to go back through your therapy materials now and pare down, here’s the link.
Once you’ve pared down, you’ll be able to quickly organize your therapy materials in such a way that you can easily grab what you need.  I’m a big fan of organizing those materials into a small kit like the one below and several activity binders for each type of therapy.

Speech-In-A-Box Kit

You should have one simple kit that organizes all of your core materials. These are the materials that you use every day or almost every day. I like this particular box because you can grab the whole thing and take it with you, or just pull out one of the individual boxes (for example, if you only need the artic cards).
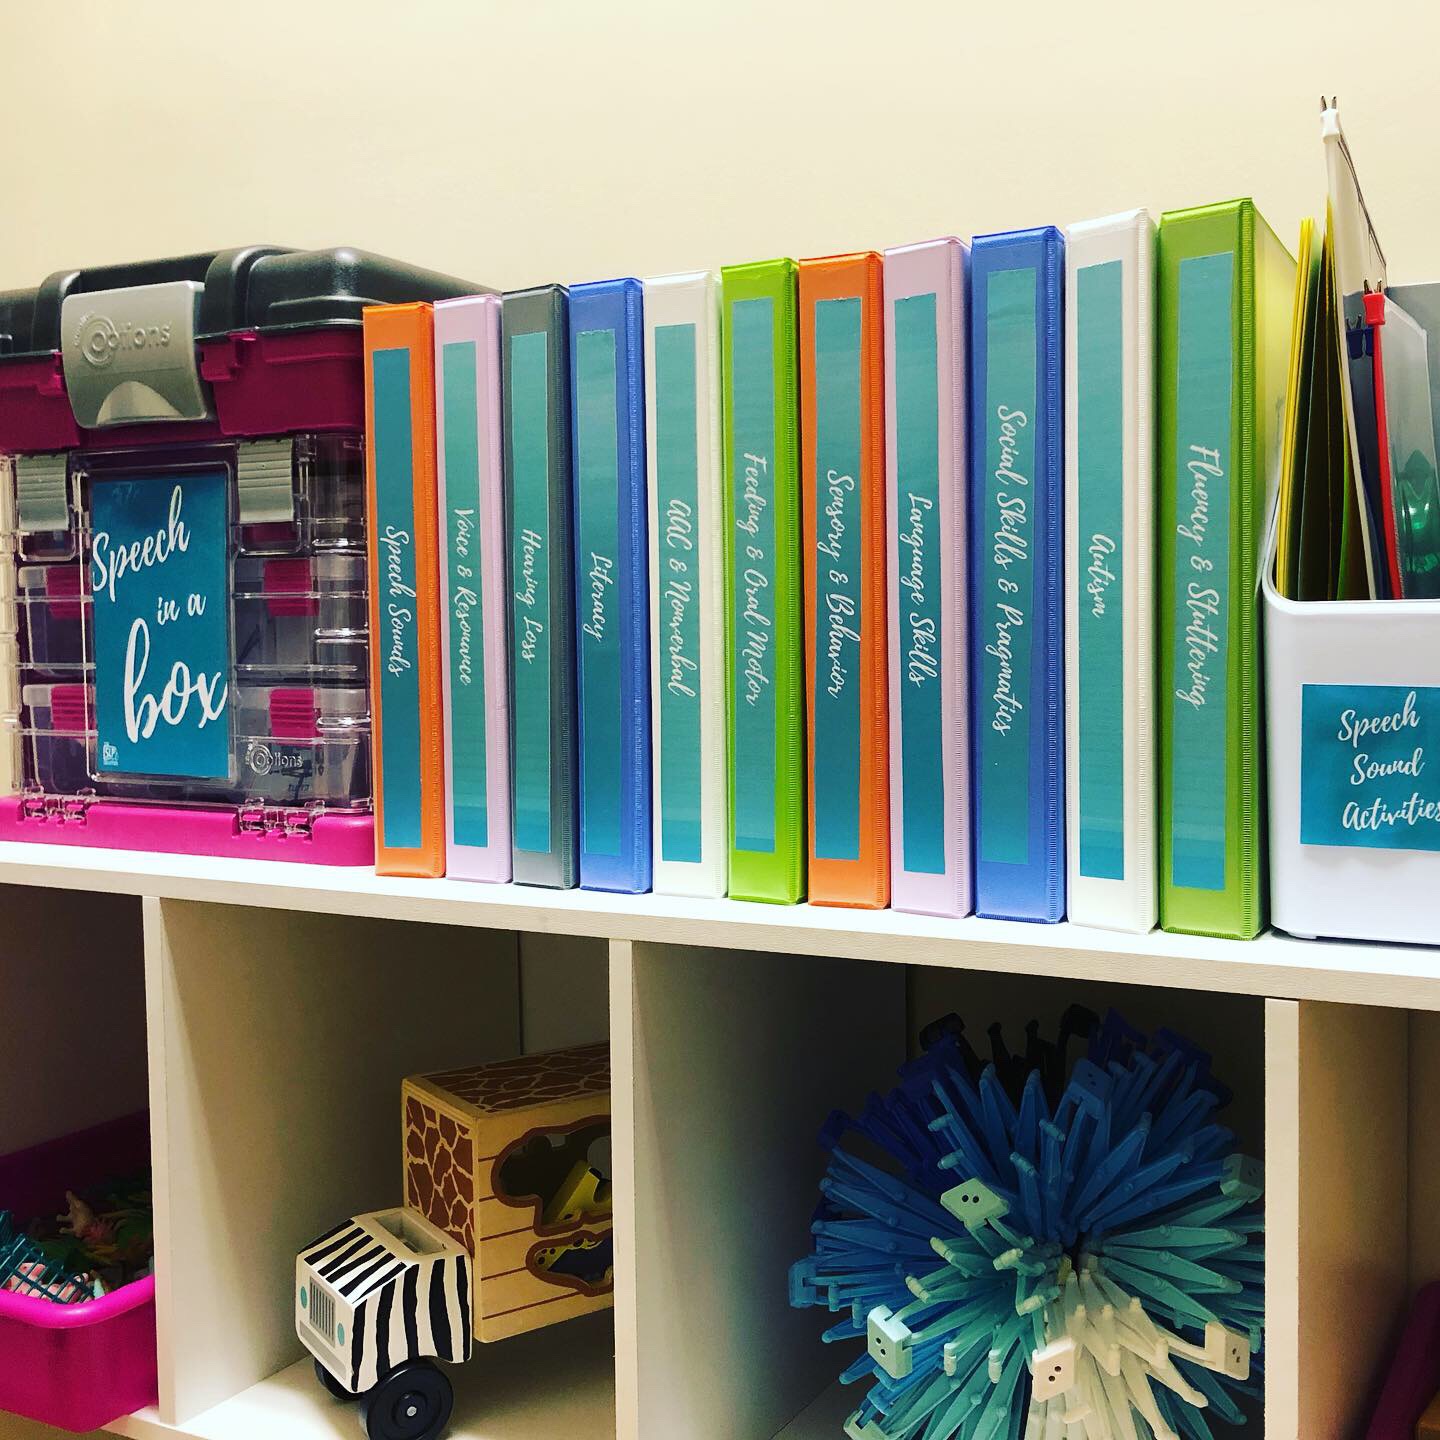
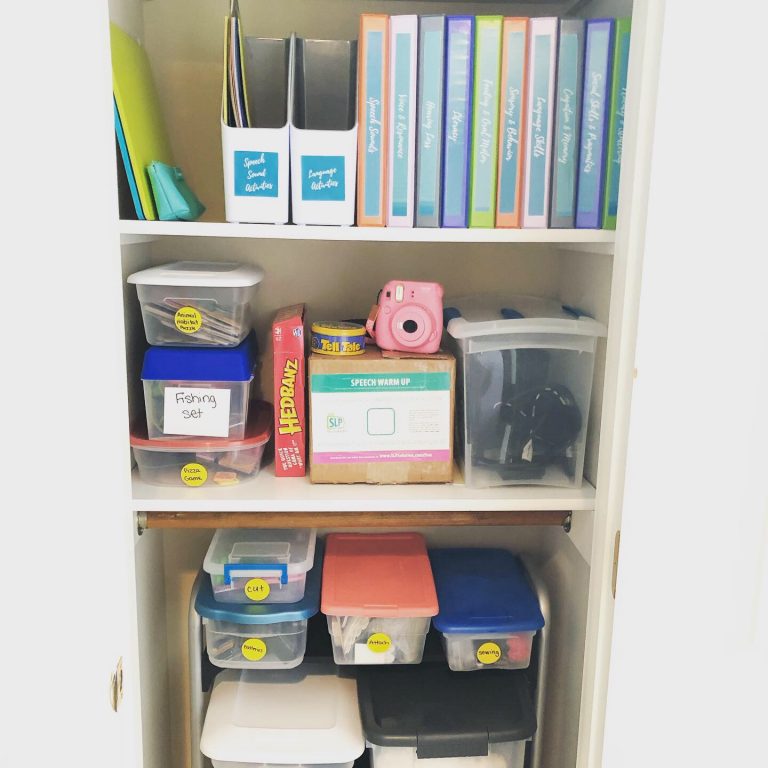
Activity Binder

Smaller materials can be stored in binders like these. You can have a worksheet or small card activity for each skill you treat. Keep one binder for each topic area (speech, language, fluency, etc.). Then you can simply pull whichever binders you need at the beginning of your session or day.

Larger Materials

If you have larger therapy materials that you just can't downsize or get rid of, those can be stored in this area, too. If you need some ideas for how to organize and store these larger items, try the link below.
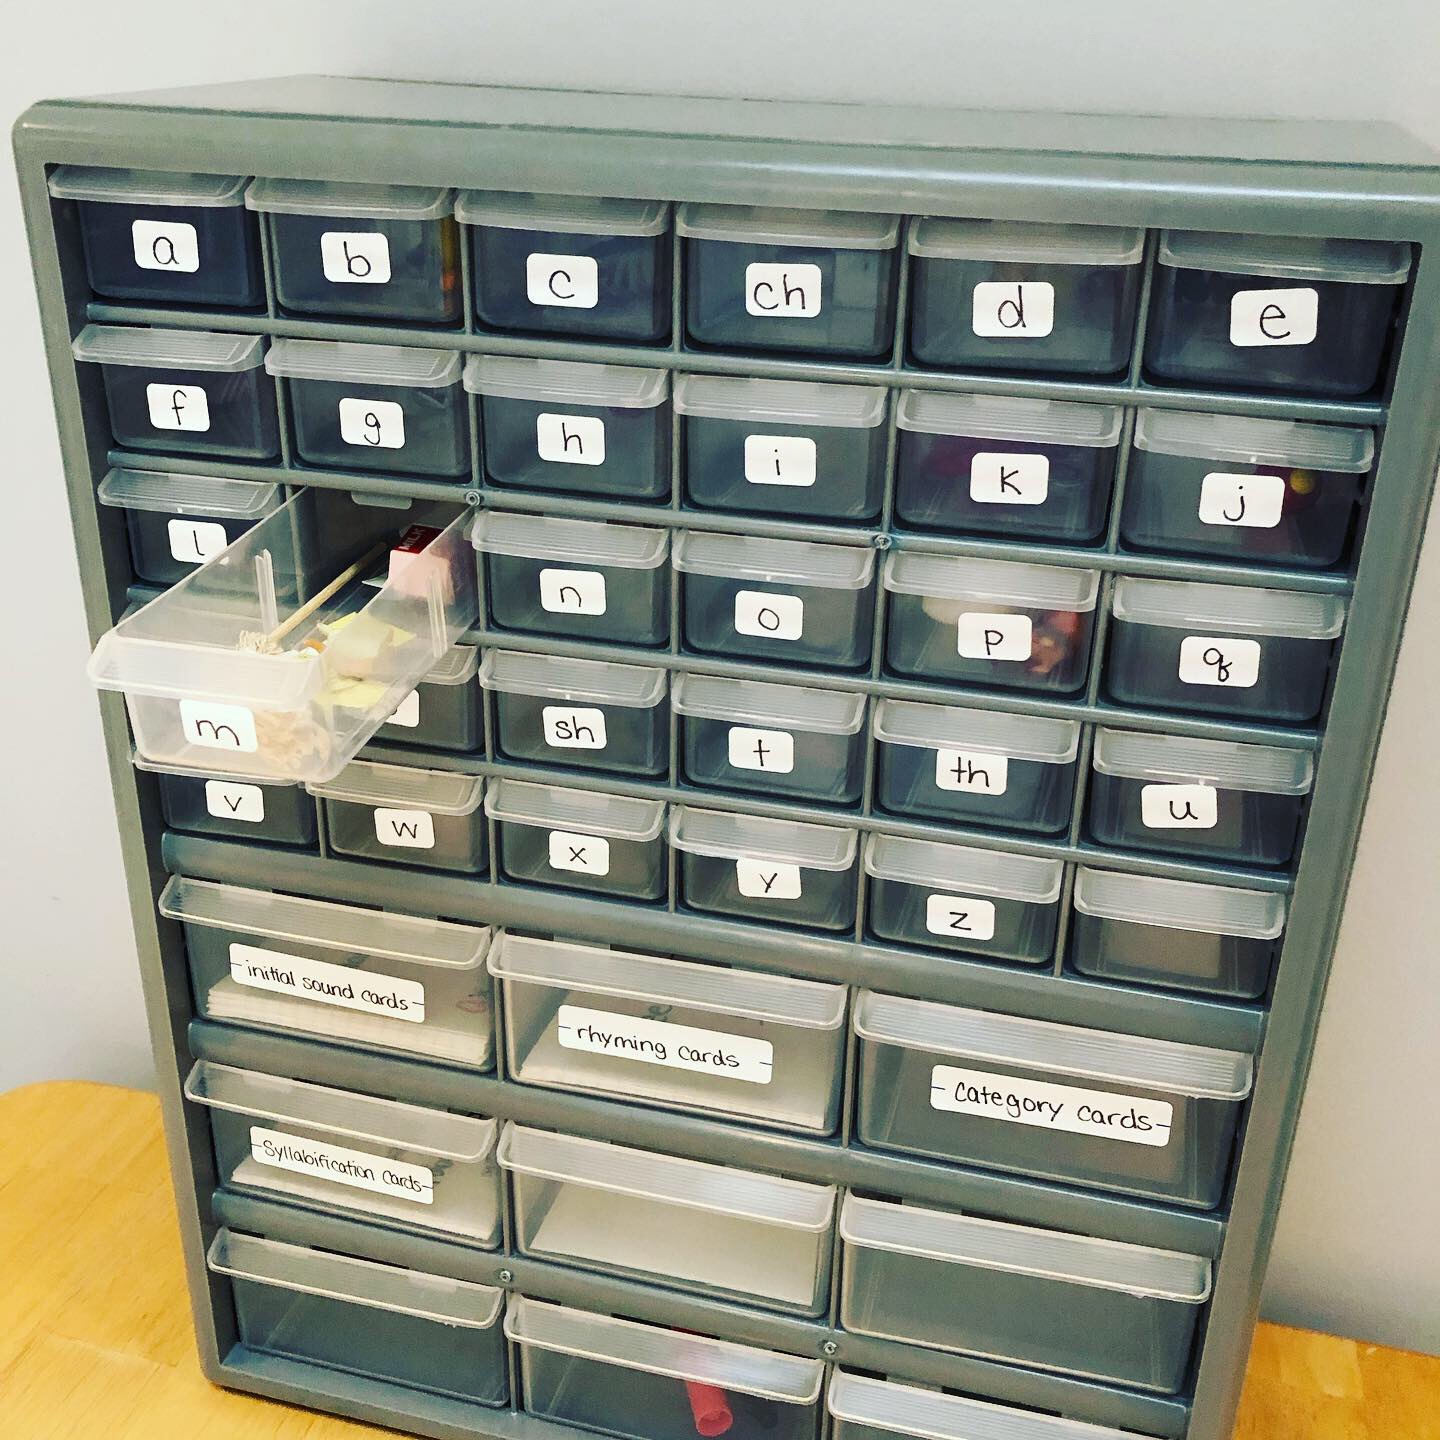
Manipulatives

Any manipulatives that you use for therapy can also be stored here. I keep mine in the top of my Speech-in-a-Box Kit but you can also store them separately.

Step Two: Organize Your Games, Toys, and Reinforcers

Now you’ll need to do something with all of those games and toys.  I suggest having travel-size toys and games that can easily be stored in small spaces.  Also, try to find activities that will appeal to most of the children on your caseload.  Group these toys and games into a few different tubs or storage devices that are easy to pull from.  In the past I’ve grouped my games/toys into categories like: 

  • Things for older children / Things for younger children
  • Books / Toys / Games
  • Themes (farm / grocery store / winter / etc.

The goal is for you to be able to pull a few items from the tubs on your way out the door (or out of the car) so that you have something fun to reinforce your clients that you can use all day long.  For example, you might pull two travel-size games and one toy to bring with you and then let your clients choose which they want (but you use those same three with every child until you get back to restock your bag).

I highly recommend putting each toy or game into a plastic Ziploc-style bag for easy transport.  That way, all the pieces stay together and you know you have the whole thing.

Here are some ideas of what to stock and how to store them (The Amazon links below are affiliate links):

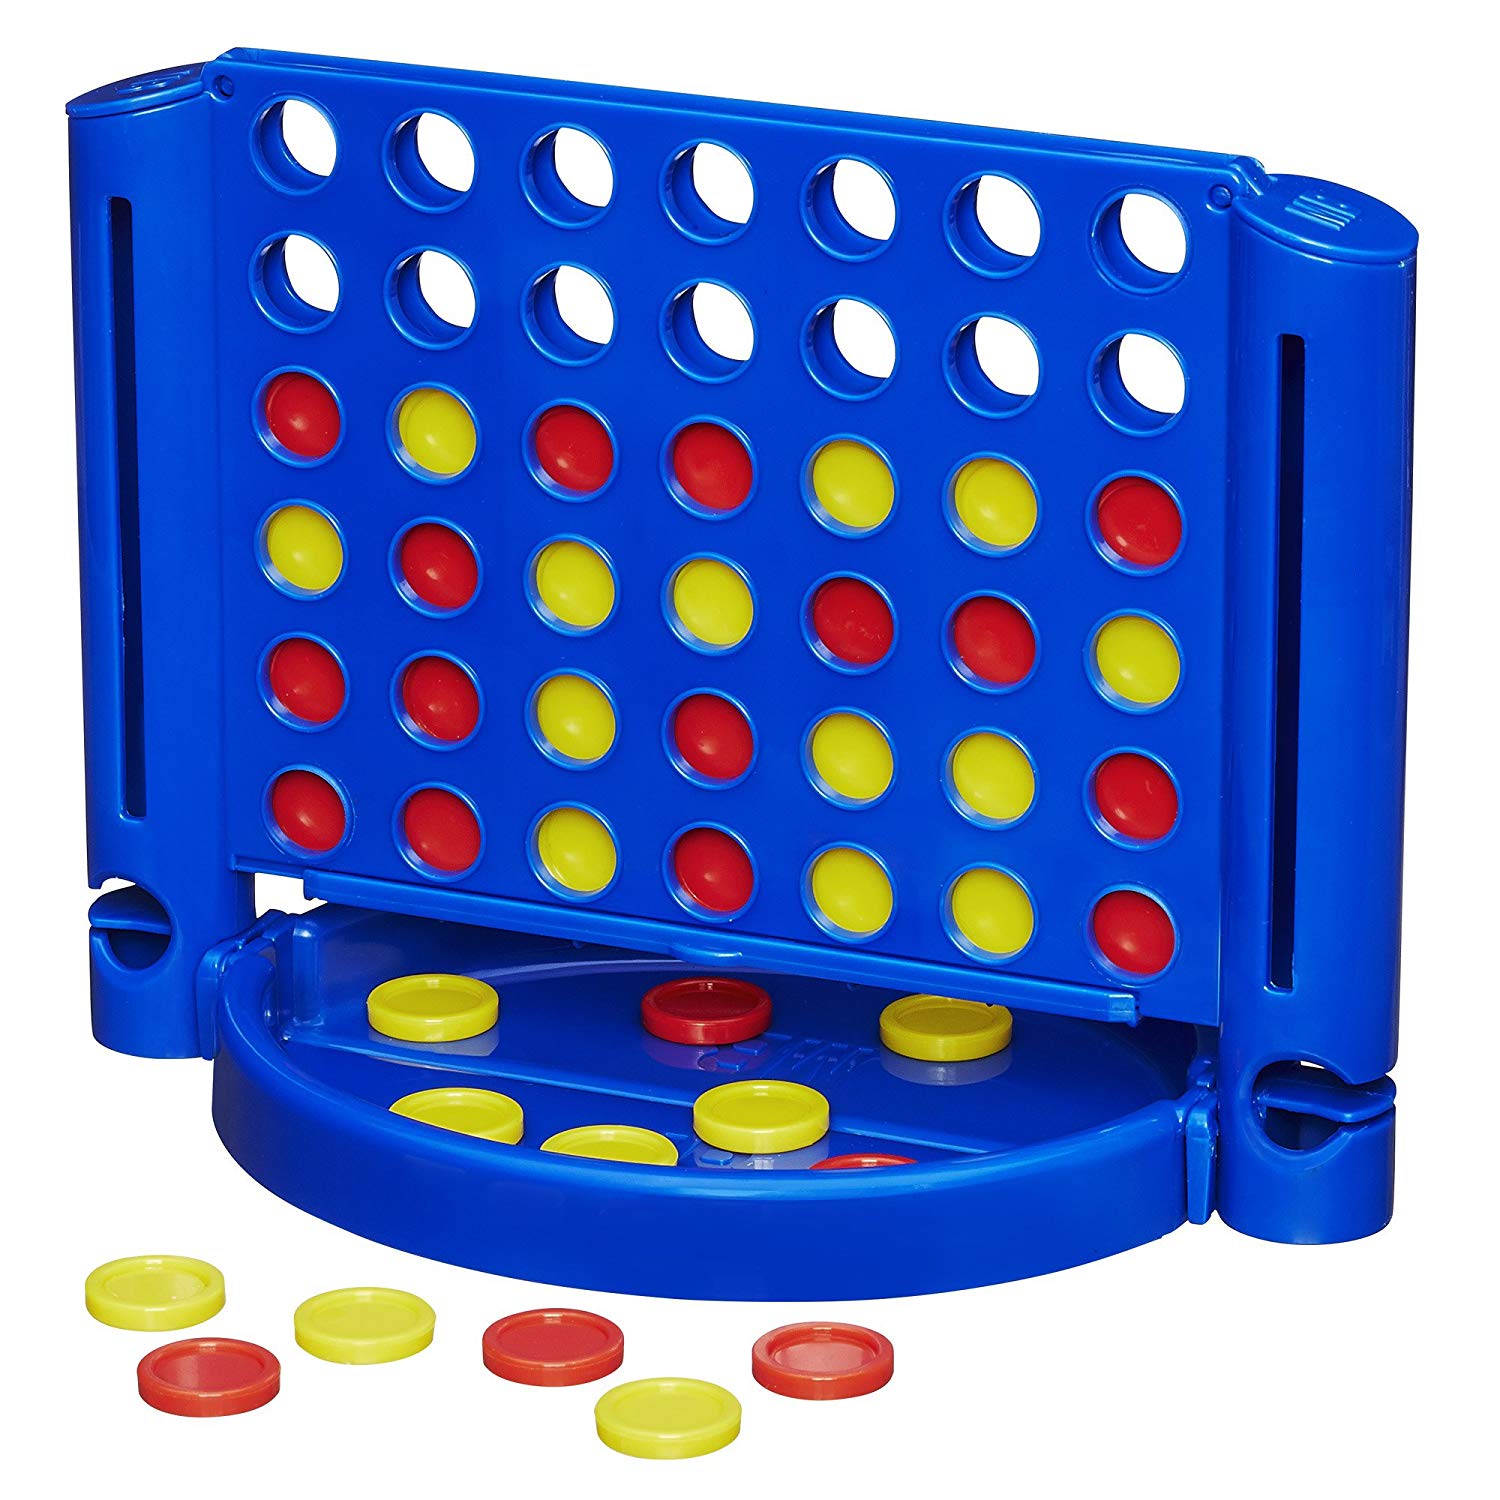
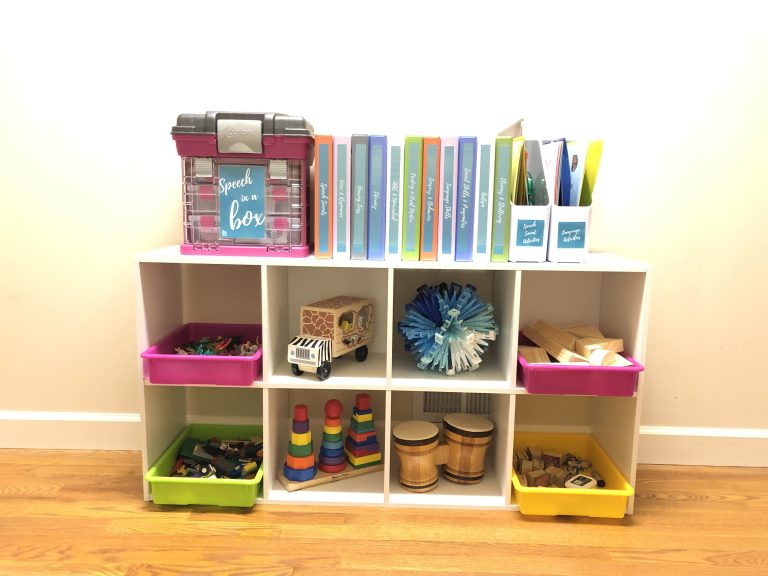
Carrie's Favorite Games and Toys for Therapy

I have some pretty strong opinions on the best games and toys to use for therapy. Click here to check out my favorites and how I store them:

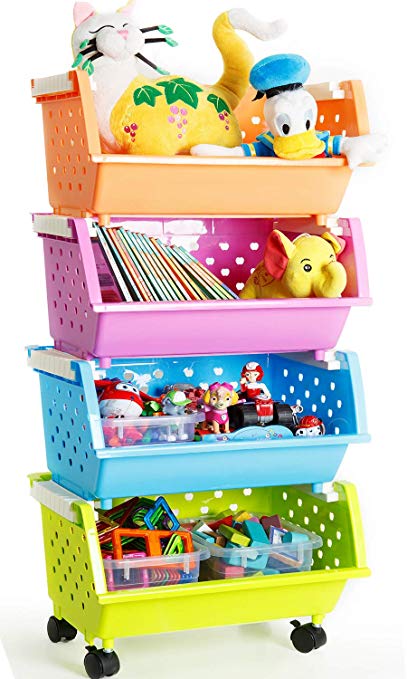
Stackable Storage Bins

Stackable storage bins like these are great for your closet or in your car (take the wheels off though if you're putting them in your car). Organize your toys and games into groups in these baskets and then you can just grab a few out of the opening on the front on your way out the door.

Magnetic Closure Storage Baskets

I'm also kind of in love with these magnetic-closure storage baskets. I think these are especially great for the car because they have closing lids. How often has your stuff gone flying in the car? They also keep the visual clutter to a minimum if you don't have a storage area that closes all the way. These are cloth baskets but they have a wire inside that holds them firm. Again, sort your games and toys into these baskets and then open one up and grab what you need on your way out the door (or you car).

Step Three: Organize Your Therapy Bag

Now let’s talk about your therapy bag.  This is how you’ll get everything from you storage space (closet, car, etc.) to the place where you’ll do the actual therapy.  Here’s how I do this:

  1. Stock Your Bag with the Essentials: Make sure your bag is stocked with everything that you need every day (pens, paper, data notebook, flashlight, etc.).  
  2. Stock for the Day: At the beginning of each day, go to your storage space and throw in whatever you’ll need for the day.  Grab activity binders or therapy materials and then throw in 2-4 toys/games that will work for all of your clients that day.  If you need to restock throughout the day, you can do that, too!
  3. Empty at the End of the Day: In order to start fresh again tomorrow and avoid cluttering your bag, stop by your storage space at the end of the day and replace everything in its storage area.  Make sure only the essentials are left in your bag.

Here are a few suggestions for bags or totes that we recommend for hauling your stuff around.  Think about how much storage space you’ll need based on how often you can return to your storage area and how diverse your clientele is.  Again, the Amazon links are affiliate links so I’ll get a small commission if you purchase through my links.  Thanks!  (I have to tell you that each time, sorry if it’s getting repetitive!)

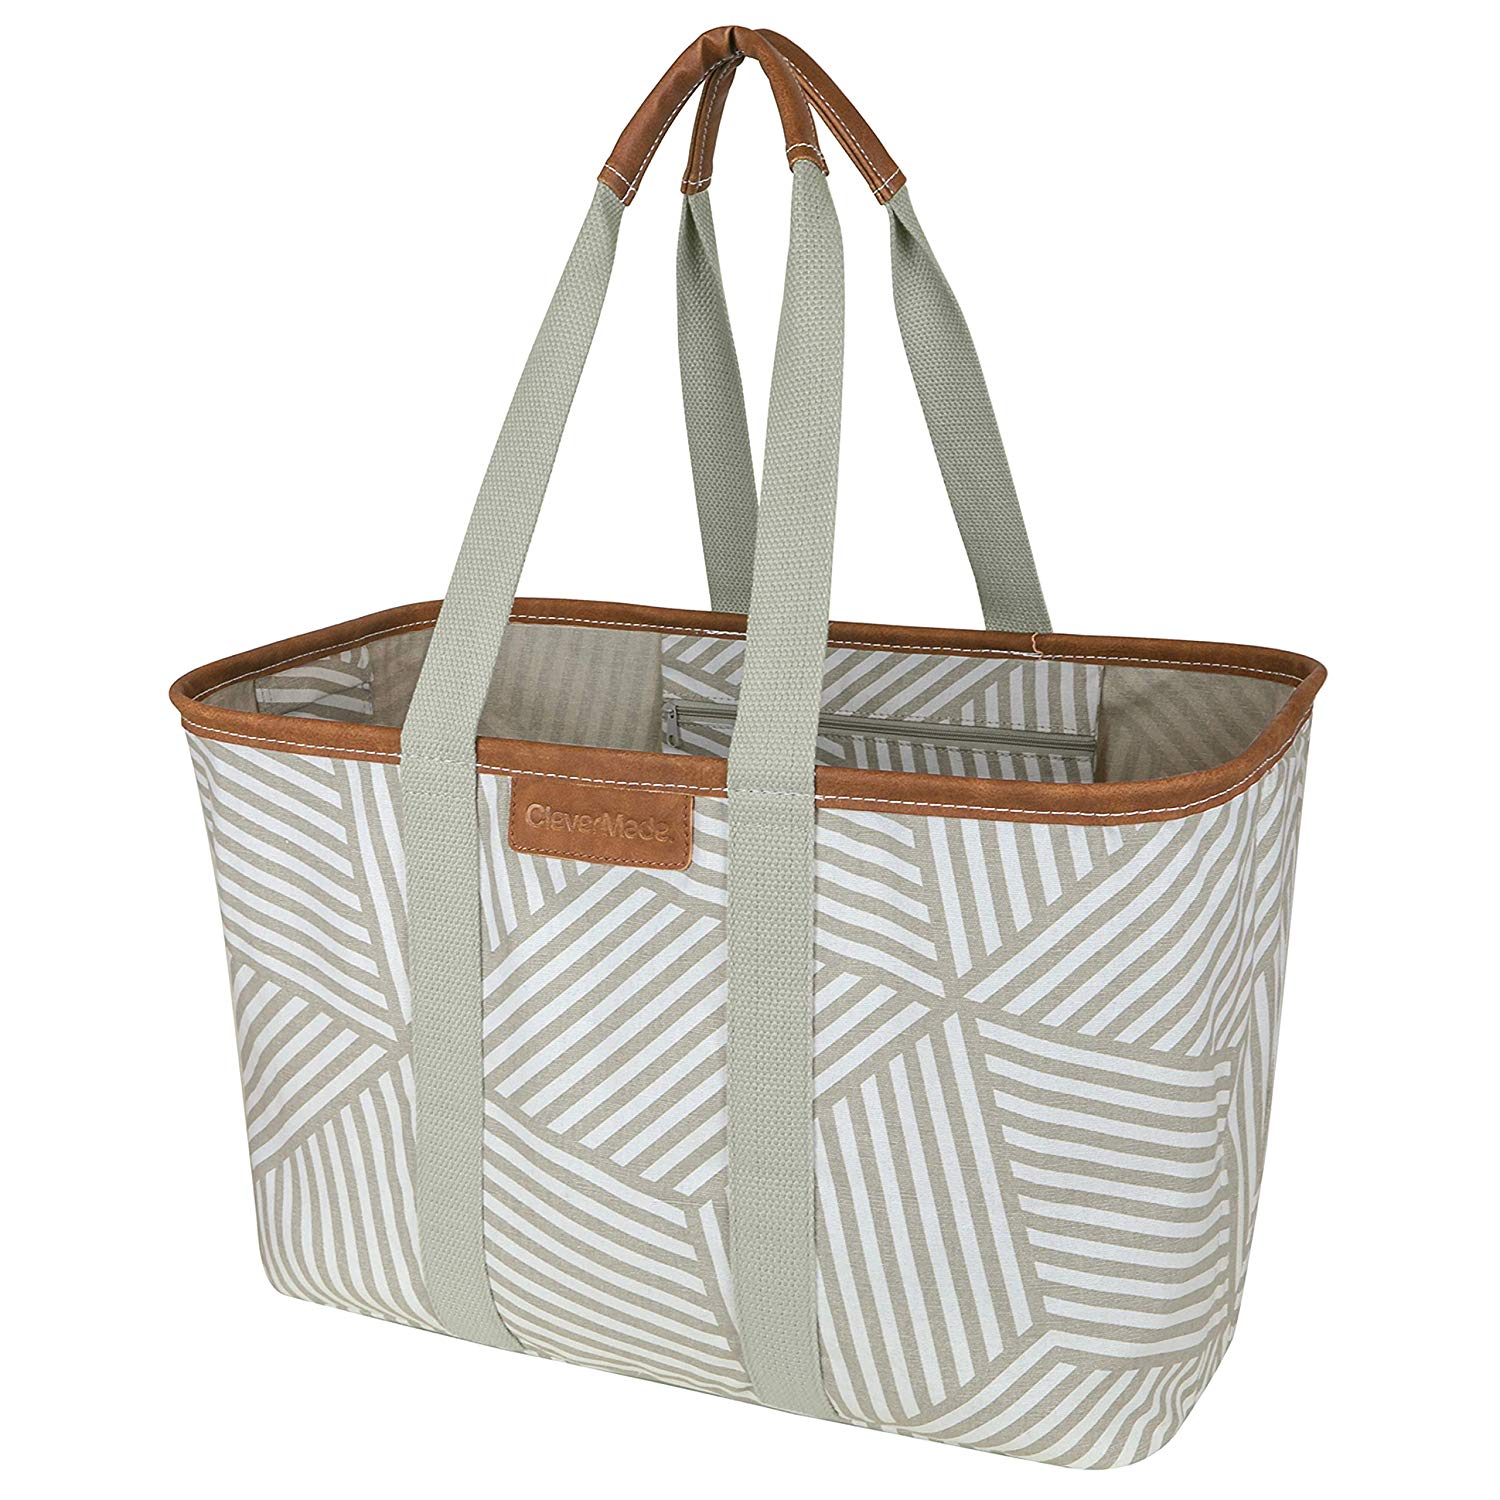
Collapsible Structured Tote

I love this collapsible tote! It has a ton of room but will collapse flat for easy storage (which I'm all about).
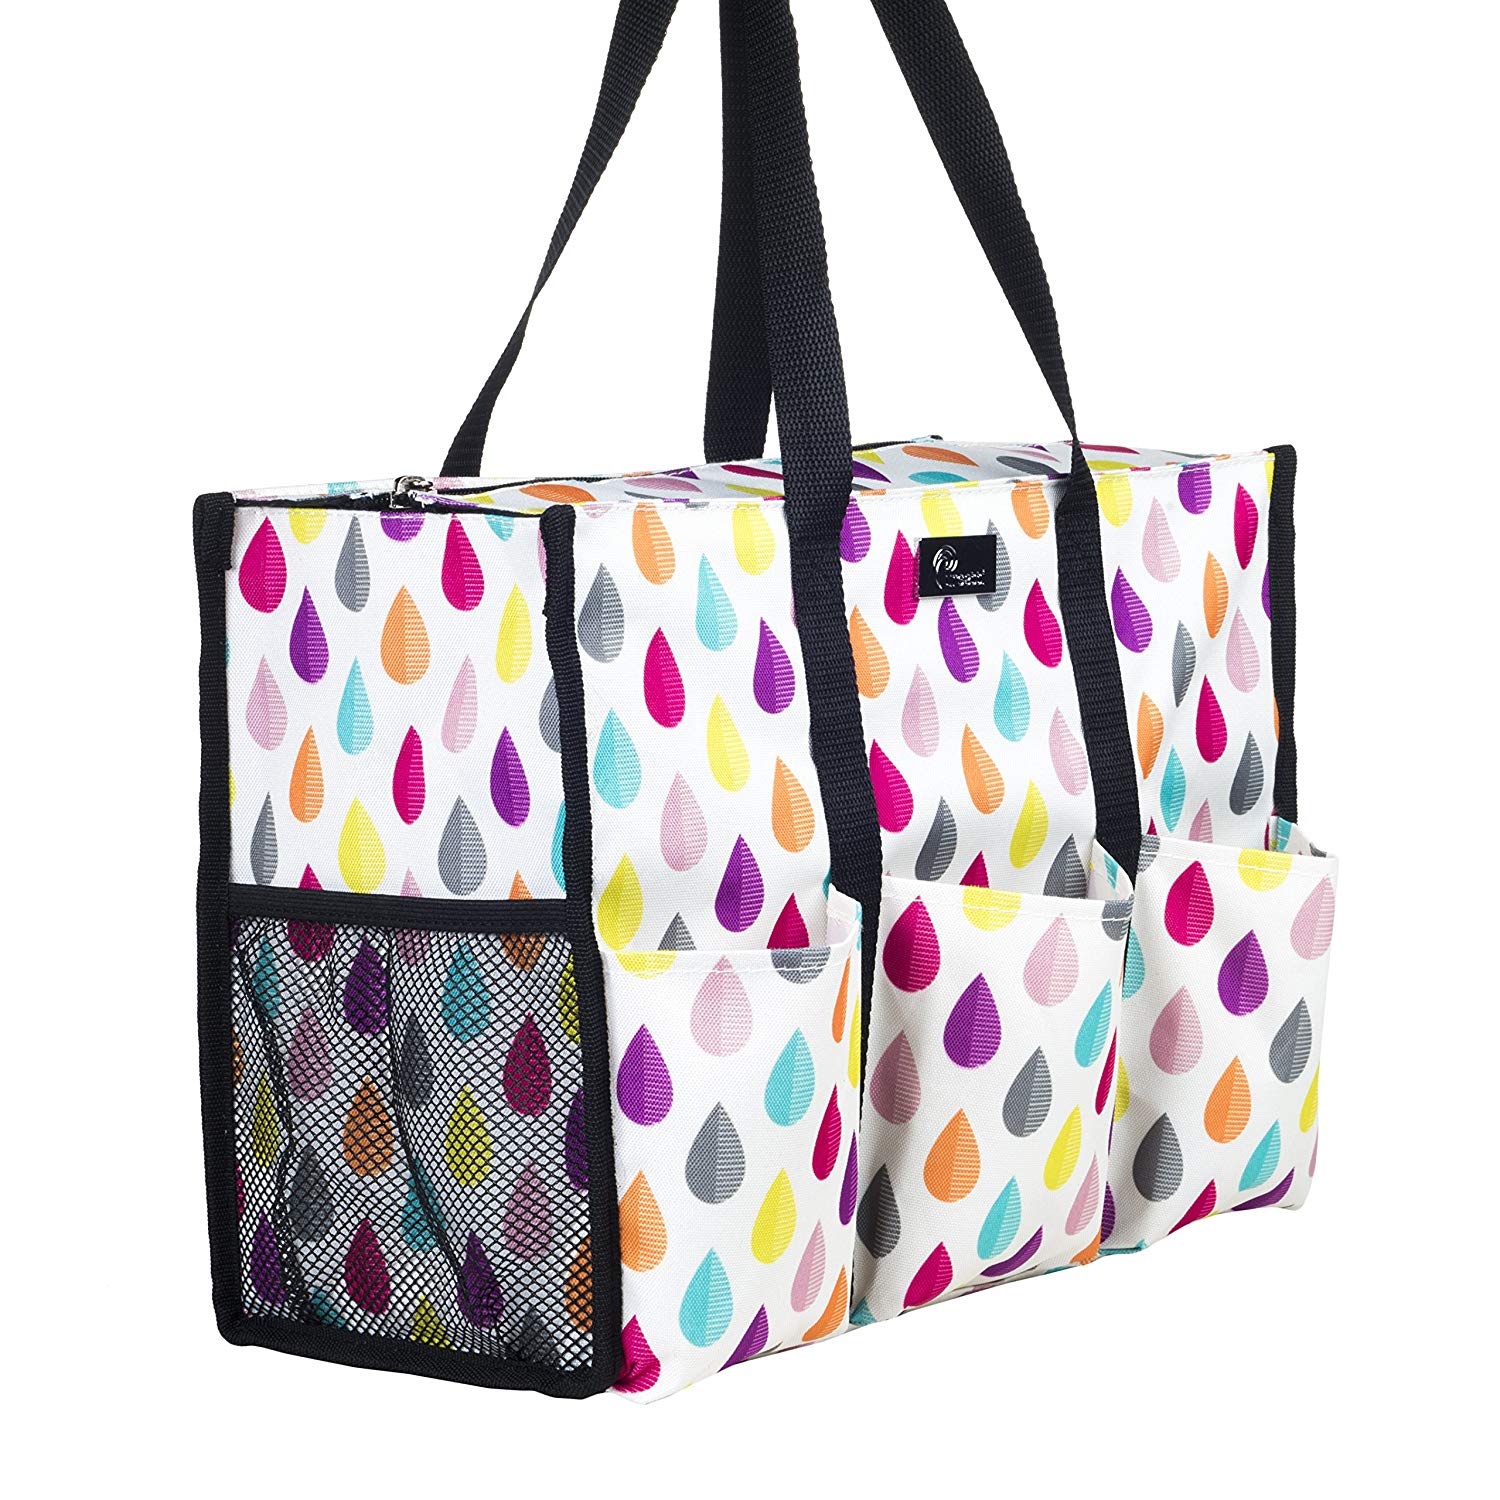
Collapsible Tote on Amazon 
(Available in Other Colors)

Zip Top Tote

This bag wins me over with its inside AND outside storage pockets along with a zipper top so your stuff won't go flying if it takes a spill in your car.

Zip-Top Tote on Amazon
(Available in Other Colors)

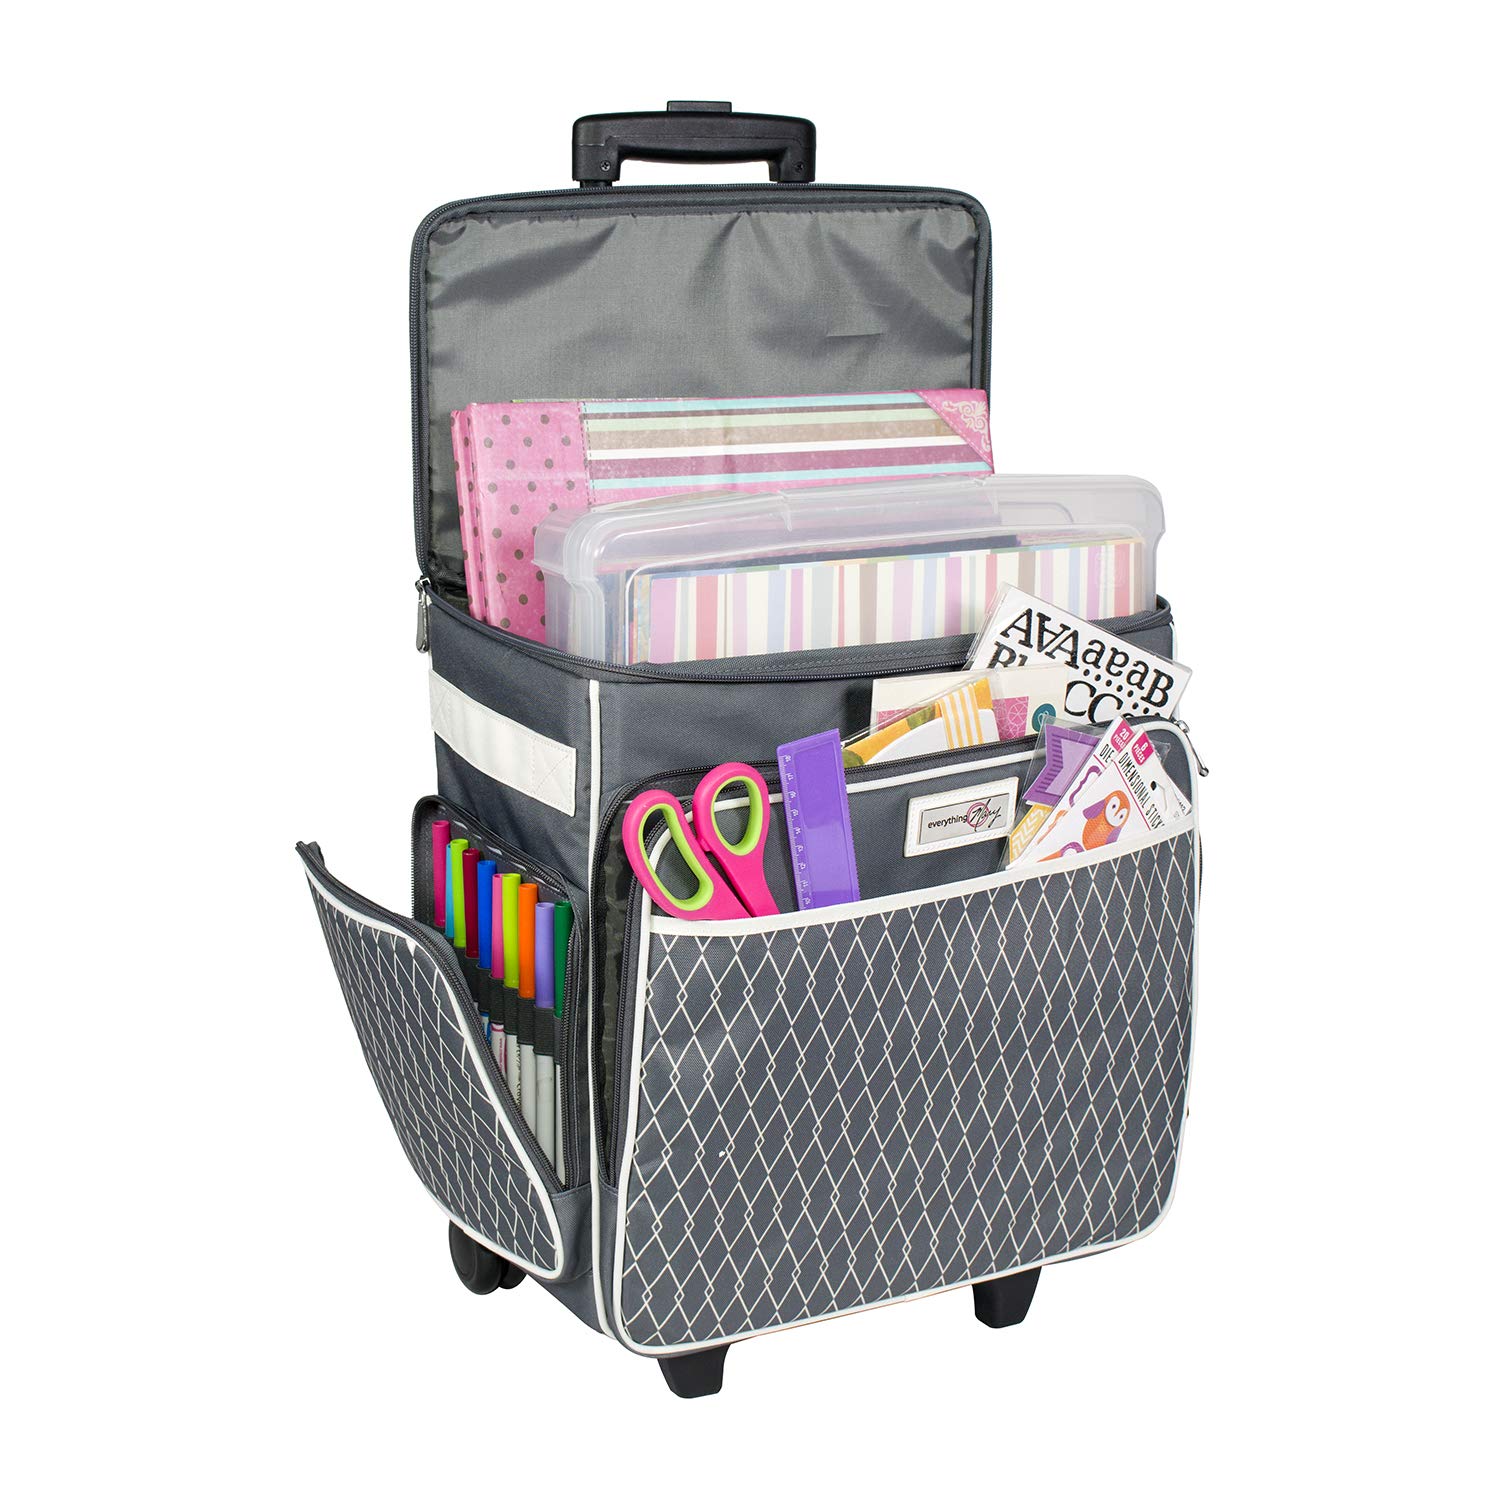
Everything Mary Rolling Tote

Here's an option that's easier on your back! This one is also great because it has so many pockets and so much room for organization!
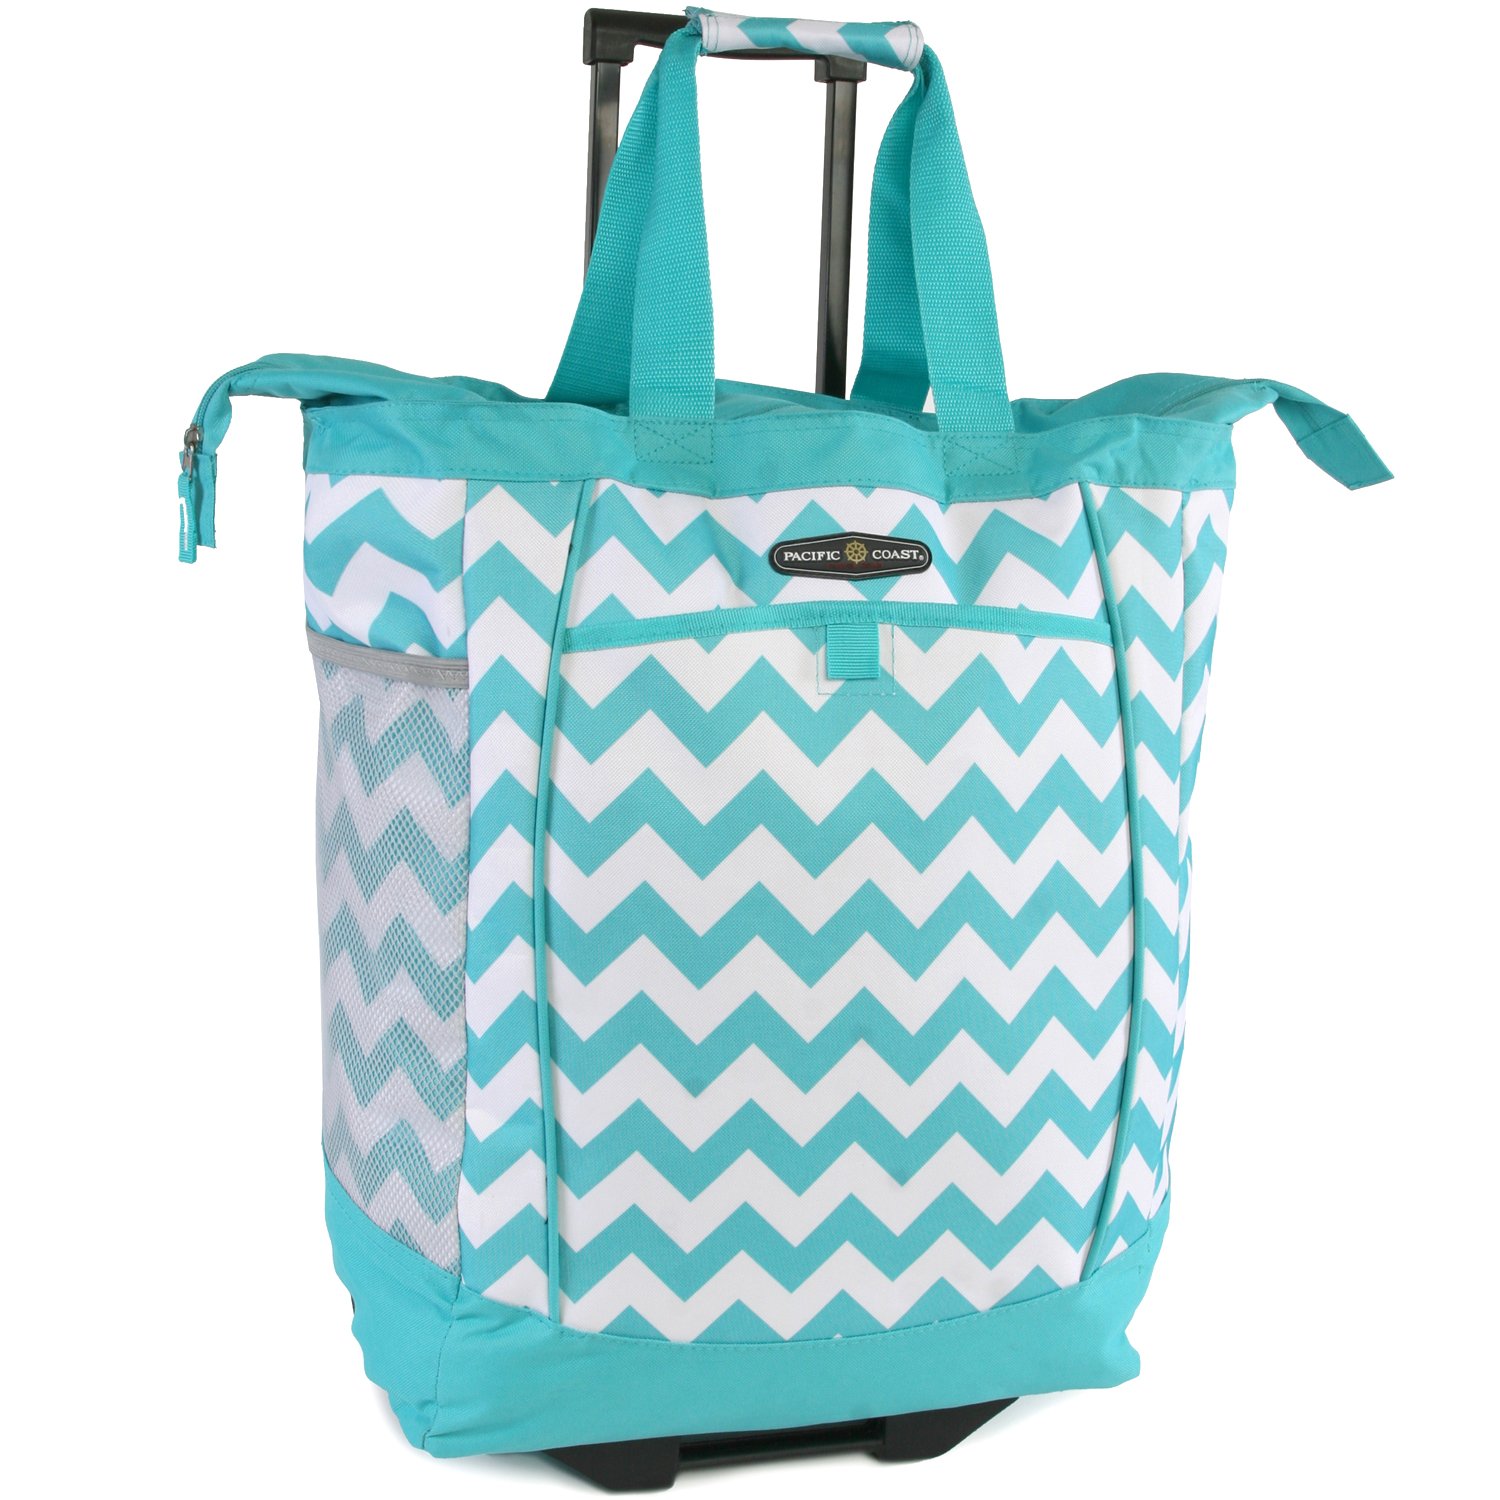
Everything Mary Tote on Amazon
(Also Available in Black)

Large Rolling Bag

Another option if you're not a fan of lugging heavy bags on your shoulders. This one is has plenty of room for throwing therapy materials in and has outside pockets as well

Rolling Bag on Amazon
(Available in Other Colors)

There you have it!  We’ve shared with you some of our favorite tips and tricks for organizing your therapy space, whether you have a full office or you are a traveling therapist.  Once you finish this challenge, will you share your space with us??

Share it With Us!  

Share a pic of your therapy space on social media and tag The SLP Solution so we can see, too!


Next Week: 

In the next post of our Summer Organization Series, we’re going to talk about how to structure your therapy sessions for student success!  Stay tuned for more information on that one!

Click the button below to get an email notification when that new content is out: 


Helping You Help Them

Our Mission

We all got into this field because we wanted to help.  But high caseloads, tons of paperwork, and not enough planning time leads to burn-out and stress.

The SLP Solution’s mission is to support you with tools, resources, and expert advice so that you can be there for the children who depend on you!

*** The SLP Solution is for informational and educational purposes only and does not provide medical or psychological advice.  We provide general resources but cannot tell you exactly what should be done for a specific client.  Every client is different and your clinical judgement should be used when making decisions about specific individuals.

By using this site, you agree to the website terms of use and disclaimers.

Privacy Policy 

Scroll to Top